


Xstiffshafts
-
Posts
305 -
Joined
-
Last visited
Content Type
Profiles
Forums
Articles
FAQ
Tests
Classifieds
Store
Group Buys
Posts posted by Xstiffshafts
-
-
-
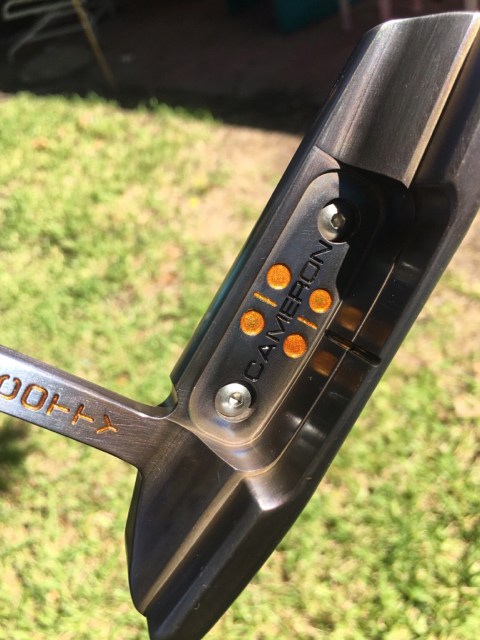
Yeah, I thought the f-bomb stamp/logo was very funny and original.
Sent from my iPhone using MyGolfSpy
-
This is where I'd like to get my hammer game to at some point. I know he's a somewhat controversial figure (esp "across the street") but I've yet to see a putter out of him that I wouldn't proudly game.

Sent from my iPhone using MyGolfSpy
-
Love the murdered out paintfill. Very nice hammer work there too. The flange looks awesome. It's definitely more than a little nerve wracking for the first dozen or so hammer swings - especially if it's a piece you care about.
Sent from my iPhone using MyGolfSpy
-
Yeah, it's pretty simple stuff. Press pause often on the hammering and examine work. You can always hammer more, you can never unhammer
Sent from my iPhone using MyGolfSpy
-
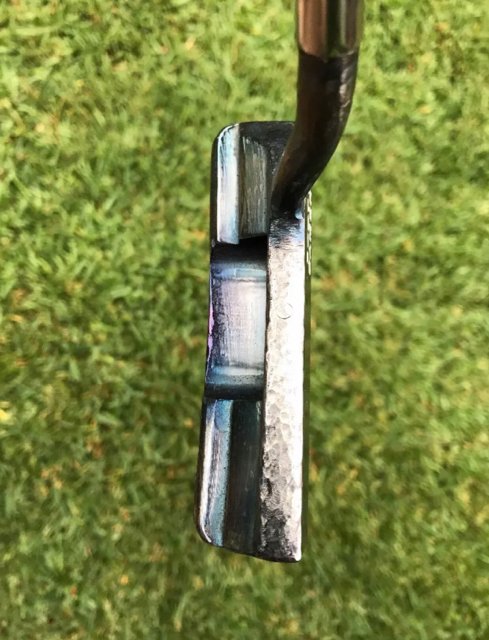
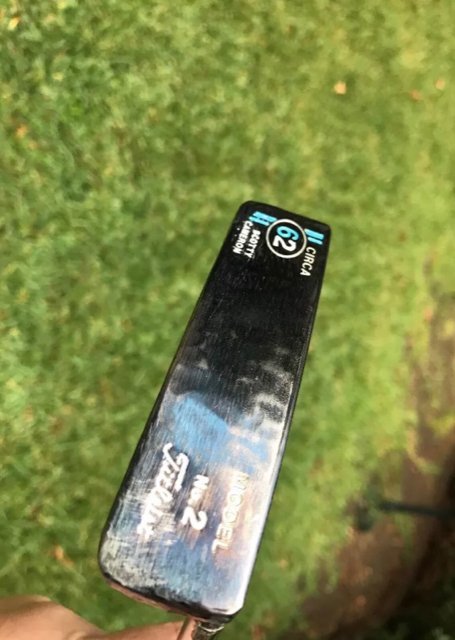
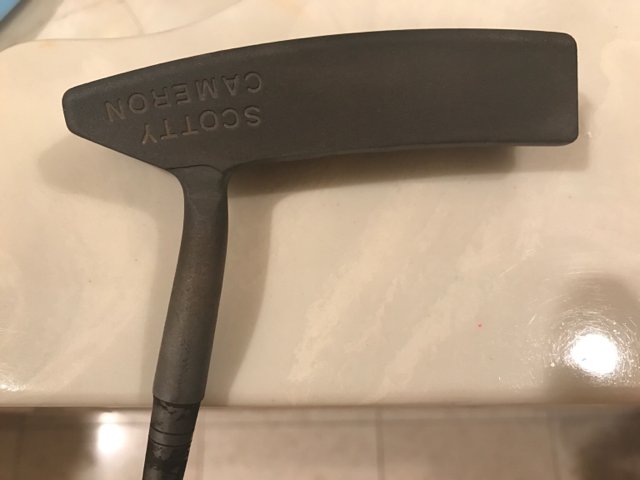
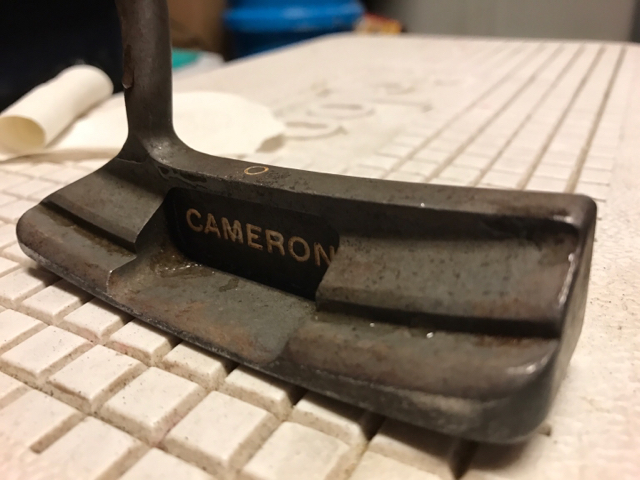
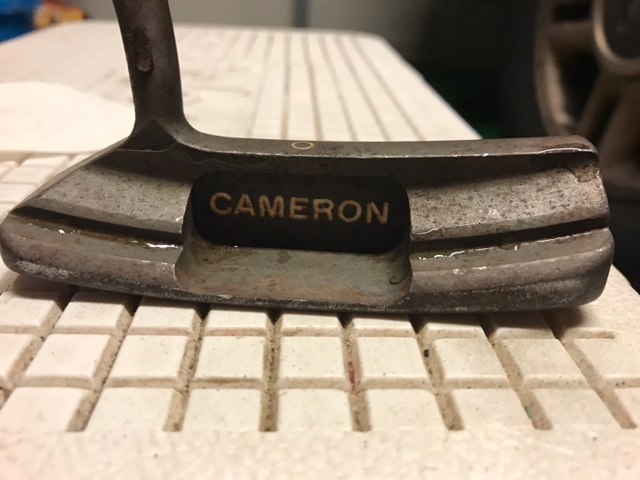
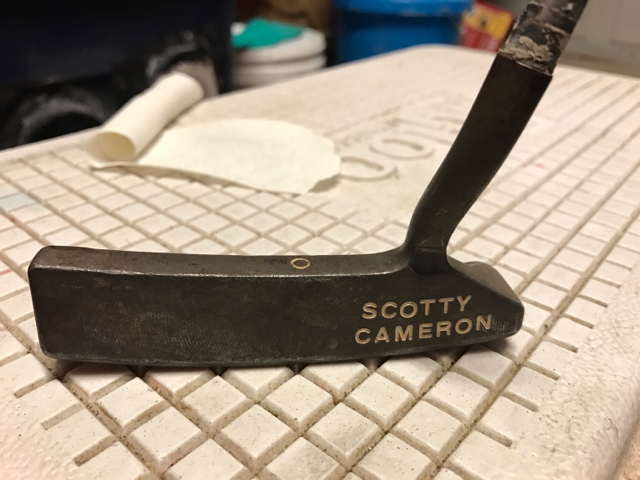
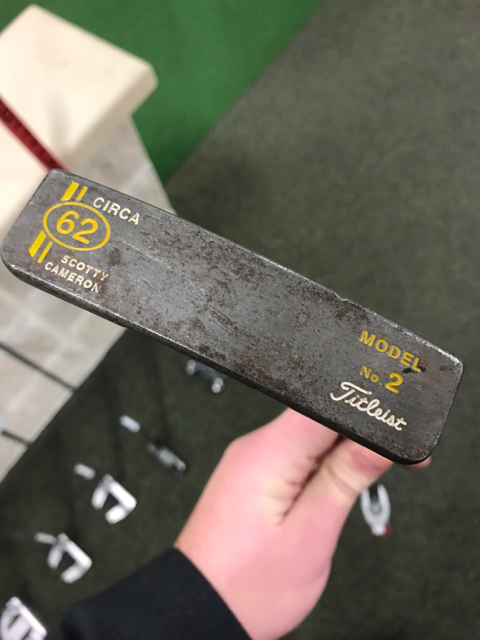
Sure. It was kind of a leap of faith for me the first time I did it. In fact, I gave it a whirl on the Circa 62 because if it went horribly wrong it was already a rust bucket and learning would've been worth it.
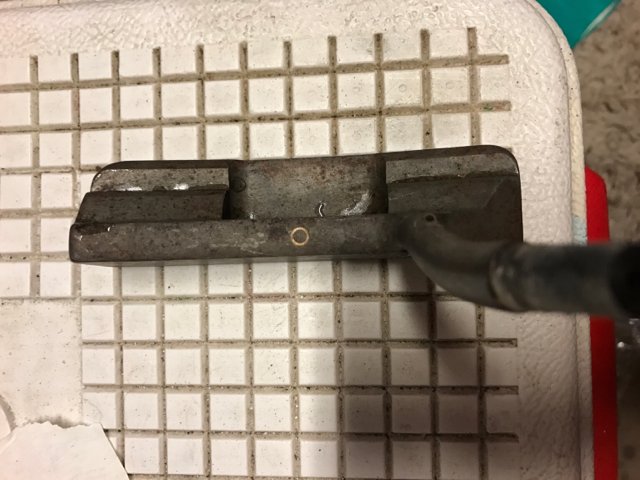
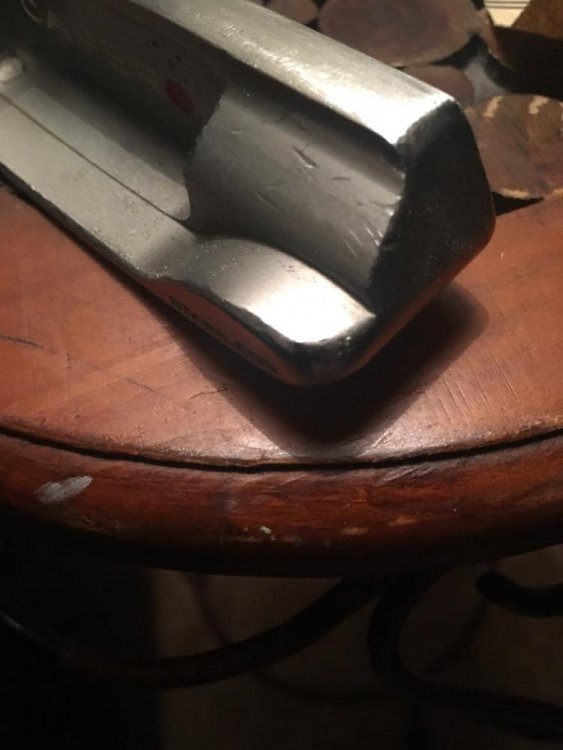
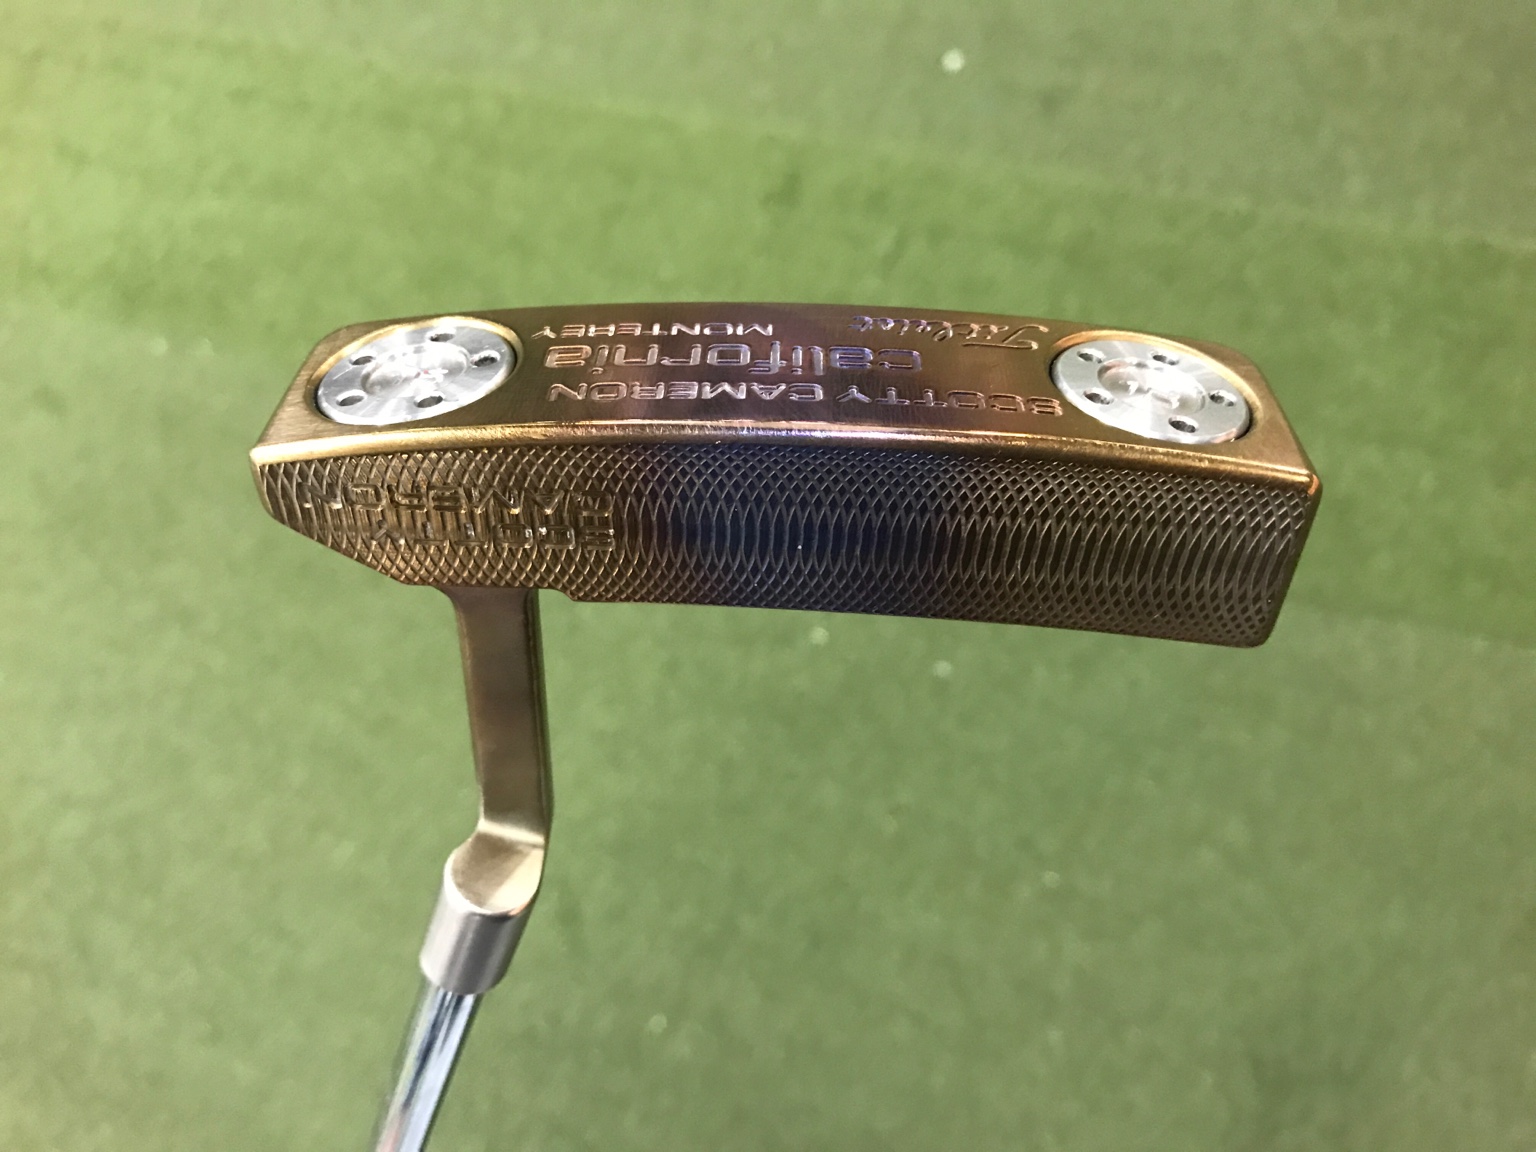
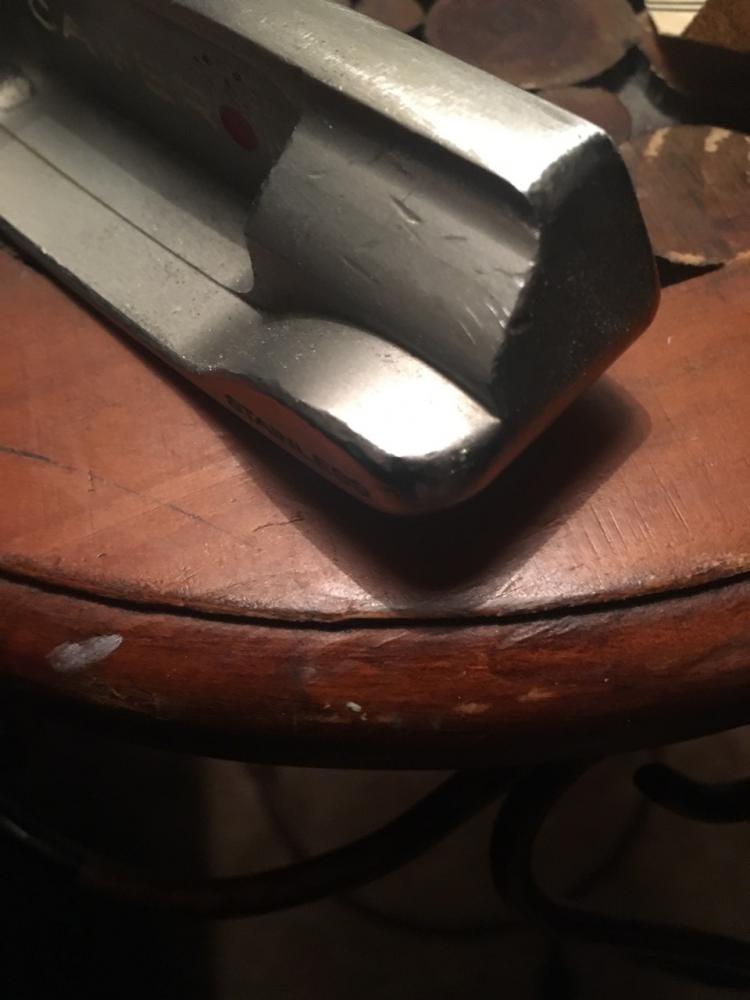
There's really not a whole lot to it. The club head should be in a vice - I guess it doesn't have to - but I definitely recommend properly securing it for the majority of your hammering, particularly for your first time. I used my drill press vice (link below). Then you grab a ball peen hammer, the smaller the better for detail work, and start whacking away. I started kind of delicately just to see what the severity of impression would be - I discovered that you want to be more delicate when hammering a top line, because if you catch it on the face edge you're going to foul the face and your edges are going to look sloppy. When hammering a sole (like the counterfeit Monterrey) you can really go nuts. The good news is, if you make a mistake, you're just one swing of the hammer away from masking it.
There are going to be areas where it's just impractical to keep the head in the vise. In those situations I just put the head on my anvil and worked slowly.
Links to my vise and hammer below.
Hammer:
Vise:
Sent from my iPhone using MyGolfSpy
-
-
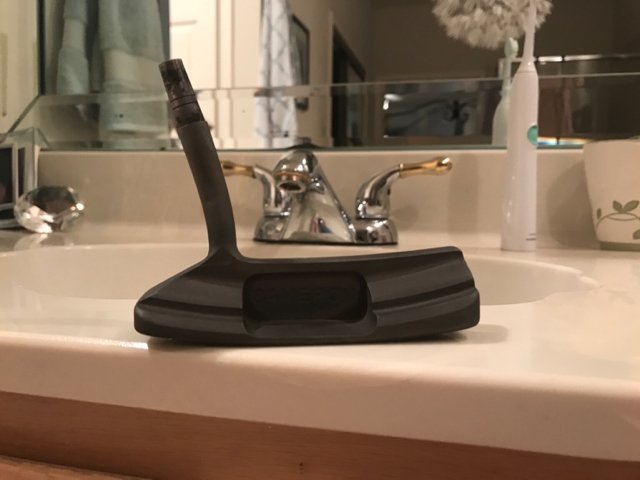
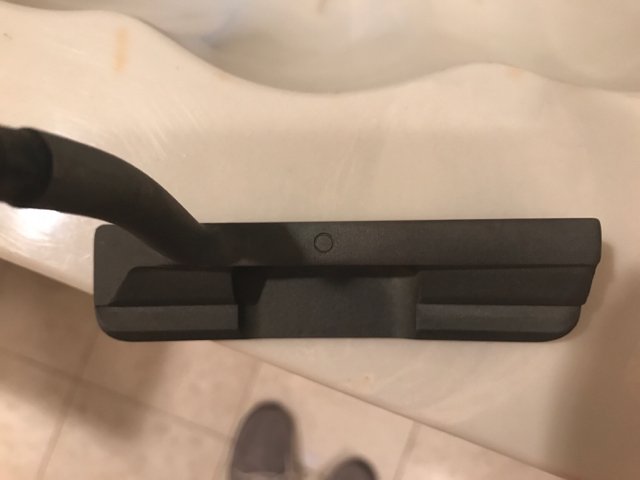
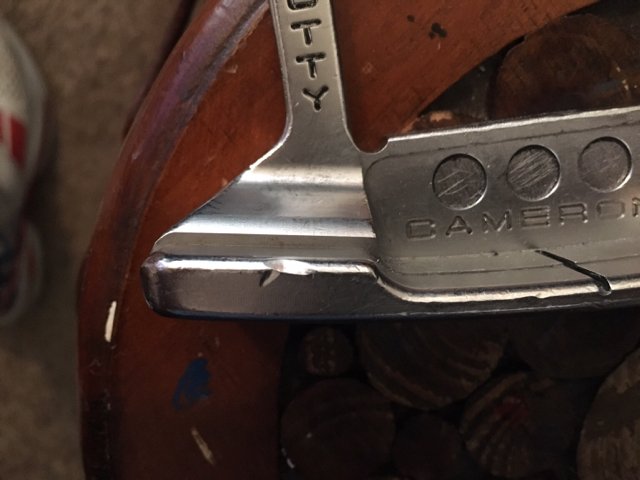
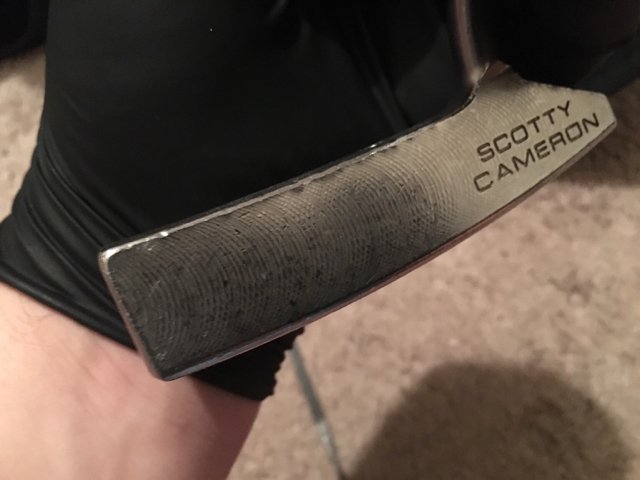
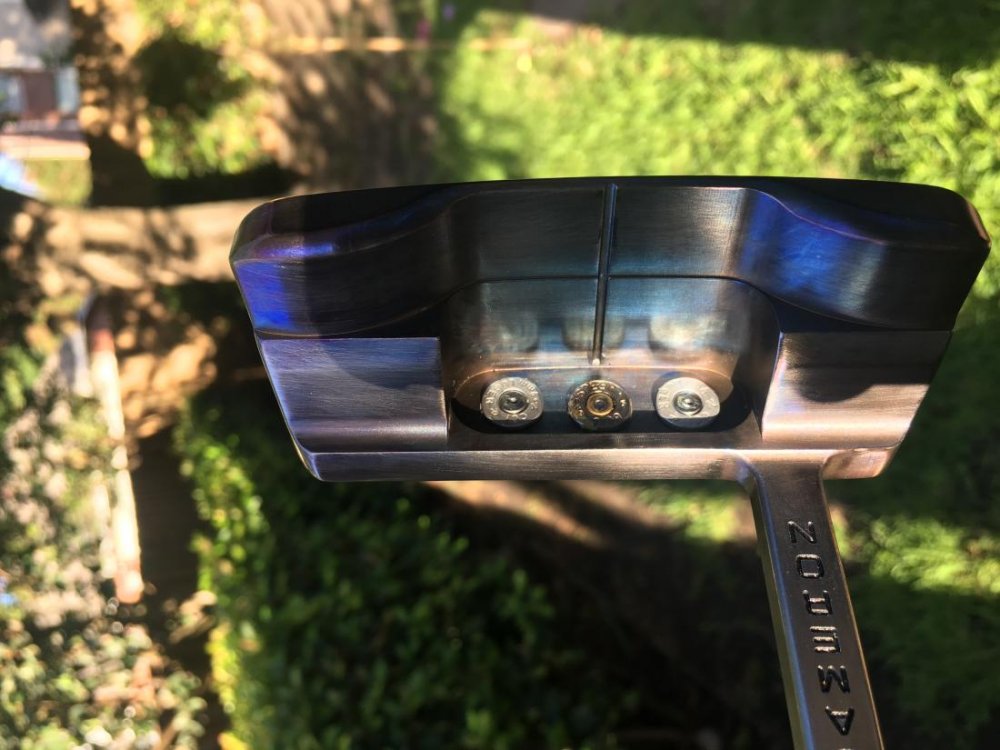
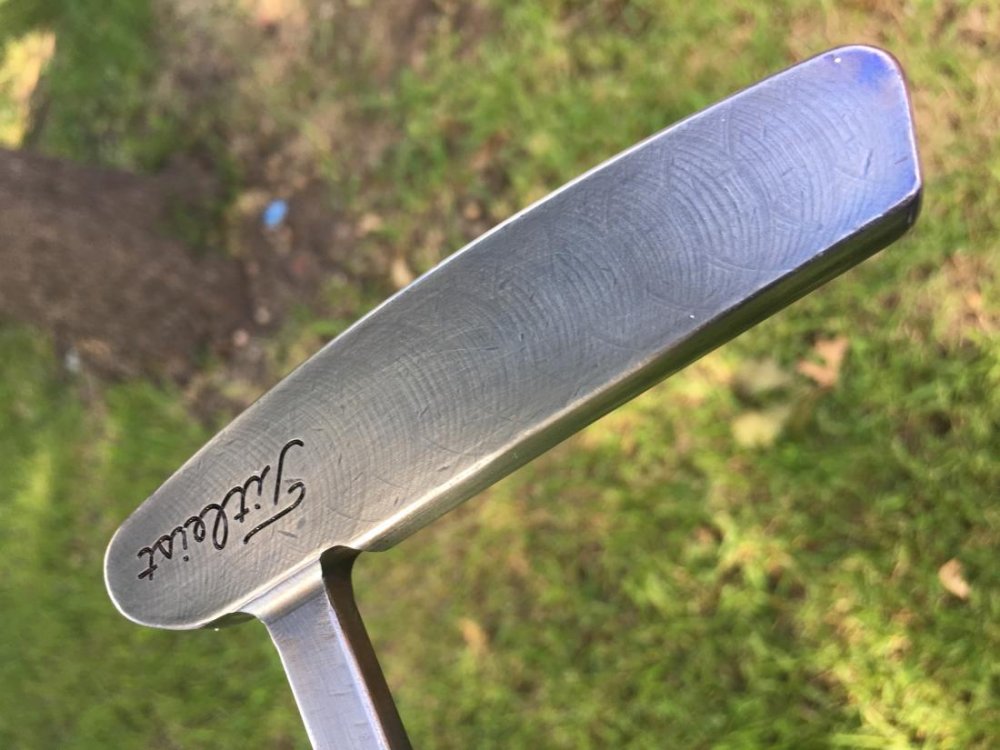
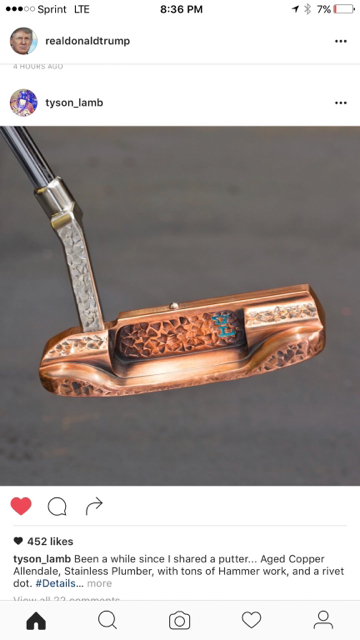
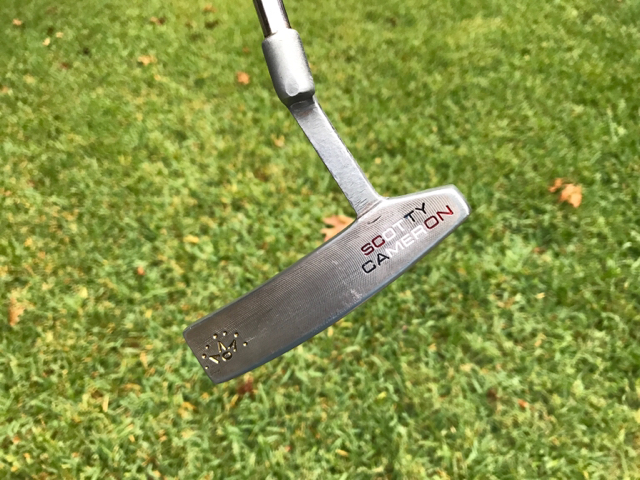
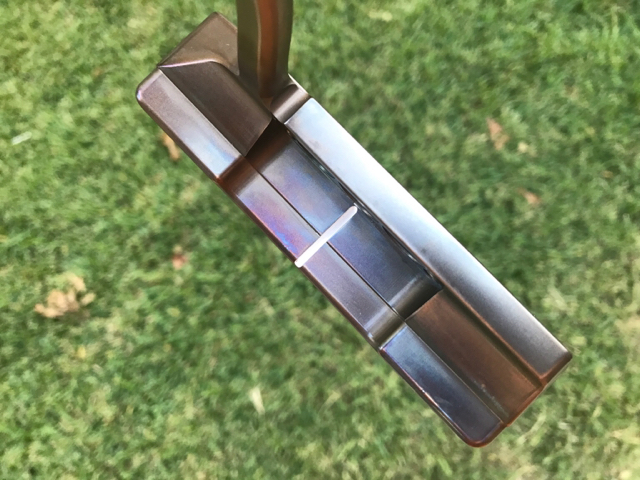
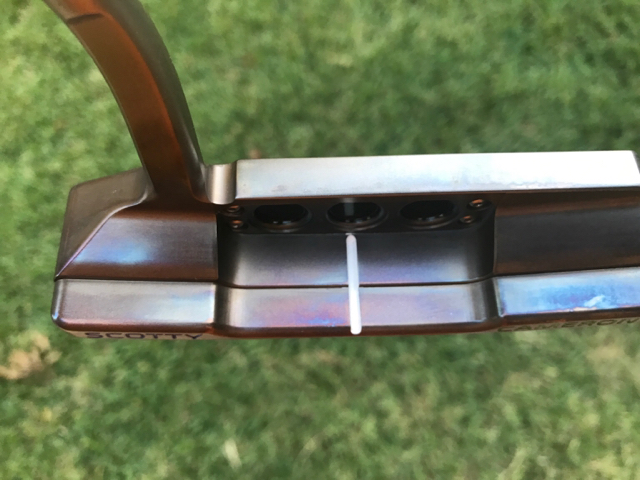
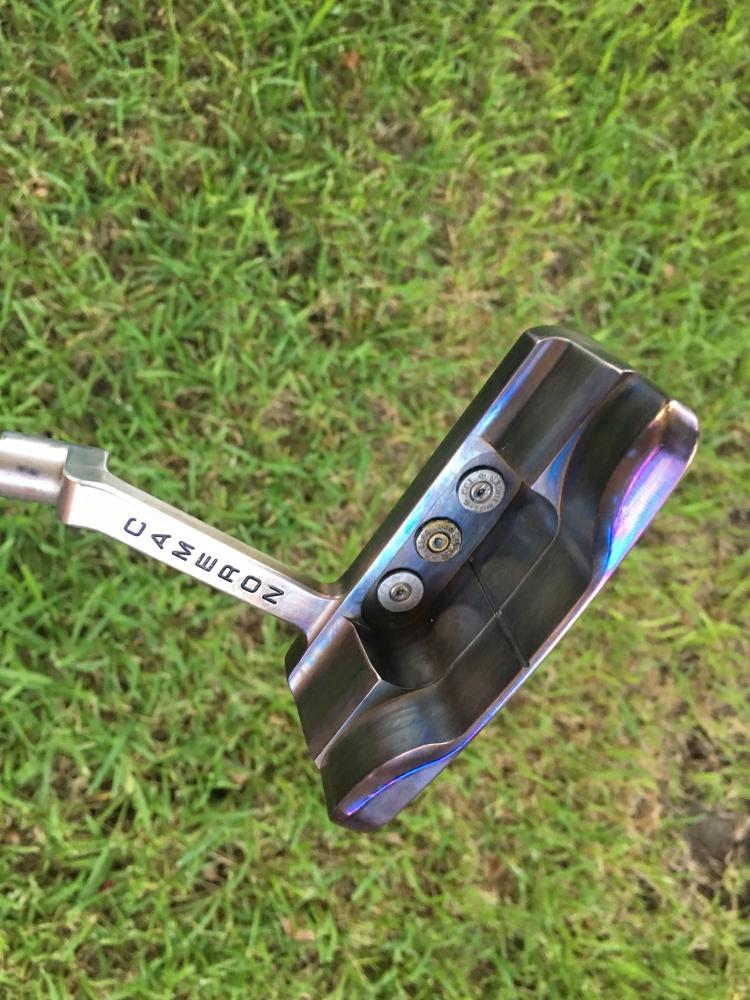
And then there's the authentic Monterrey that I torched over the weekend. I read the article on Tyson Lamb here last week and started checking his work out - what a freaking dream that would be, to design and mill putters full time.
Anyway, many of his putters that I saw (which happened to be my favorite) had smooth even torch jobs over the whole body, and then the center was given more heat which produced a two toned finish with the darker color in the sweet spot. That was the inspiration for this. I would've liked a more circular shape on the face, but I'm pretty happy with it.
-
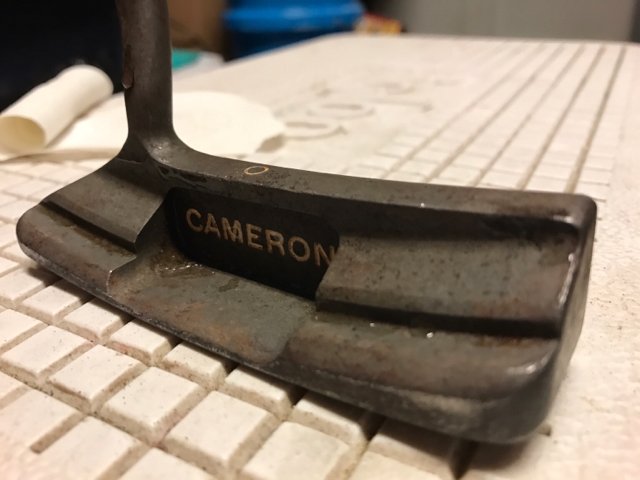
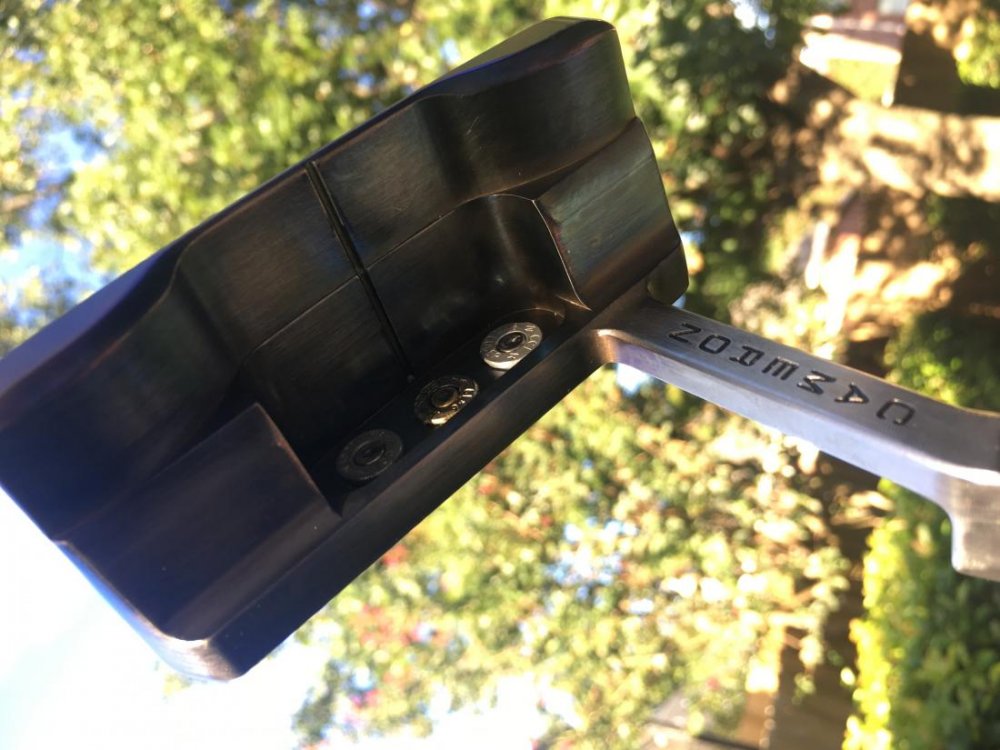
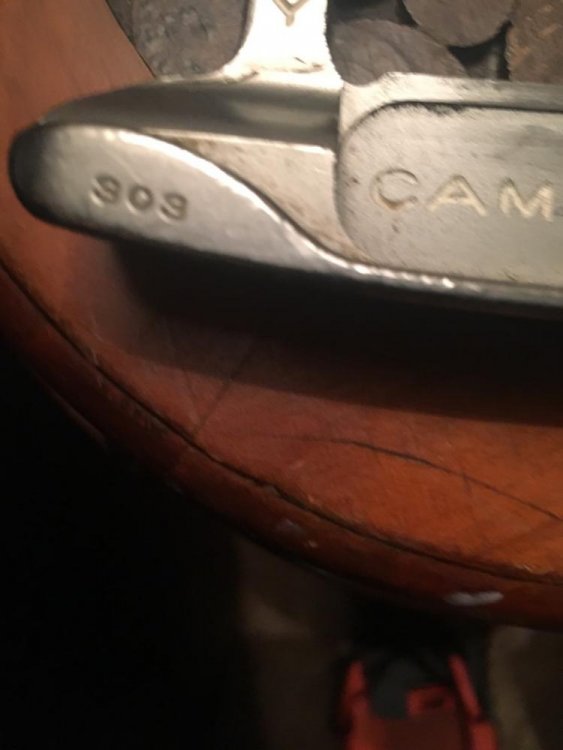
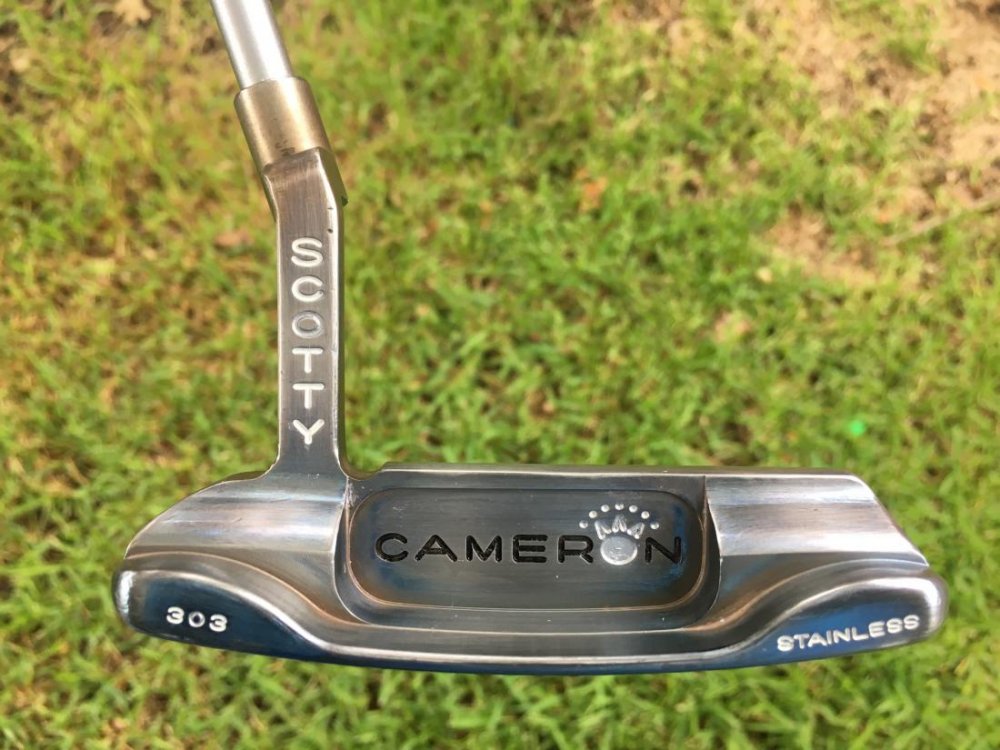
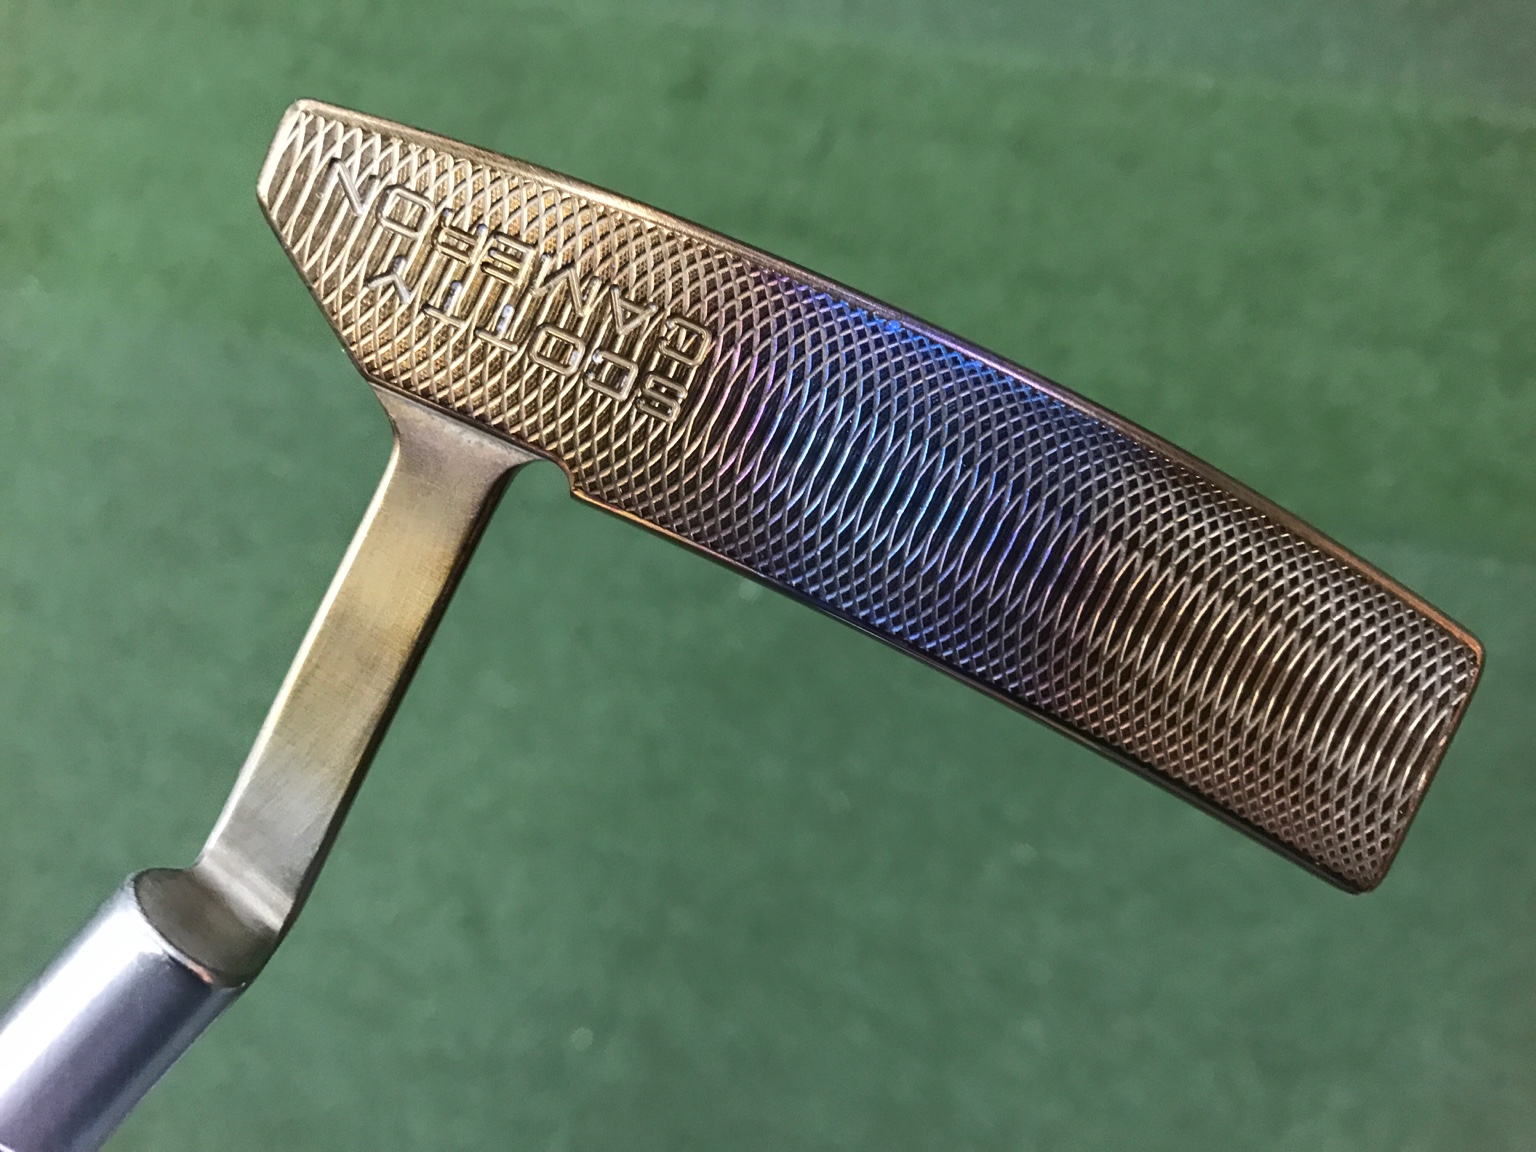
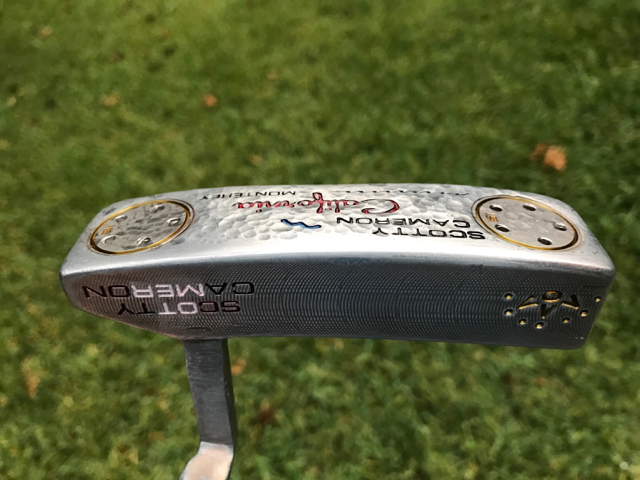
Also, a buddy got screwed and paid $169 for a "Monopoly money" (counterfeit) Monterrey earlier this week. He gave it to me and said, "go nuts".
Here was the outcome.

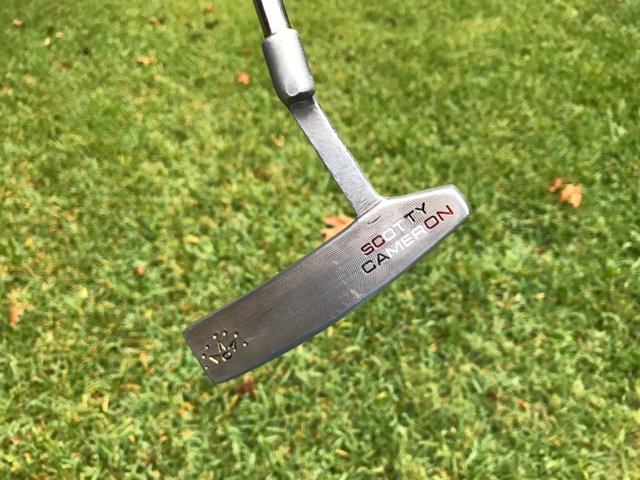

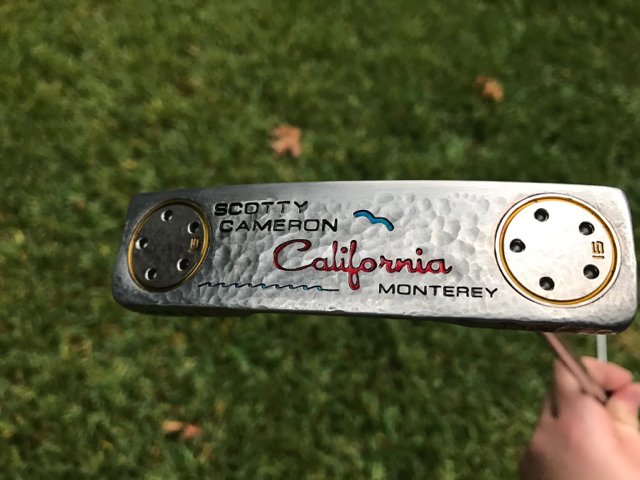

Sent from my iPhone using MyGolfSpy
-
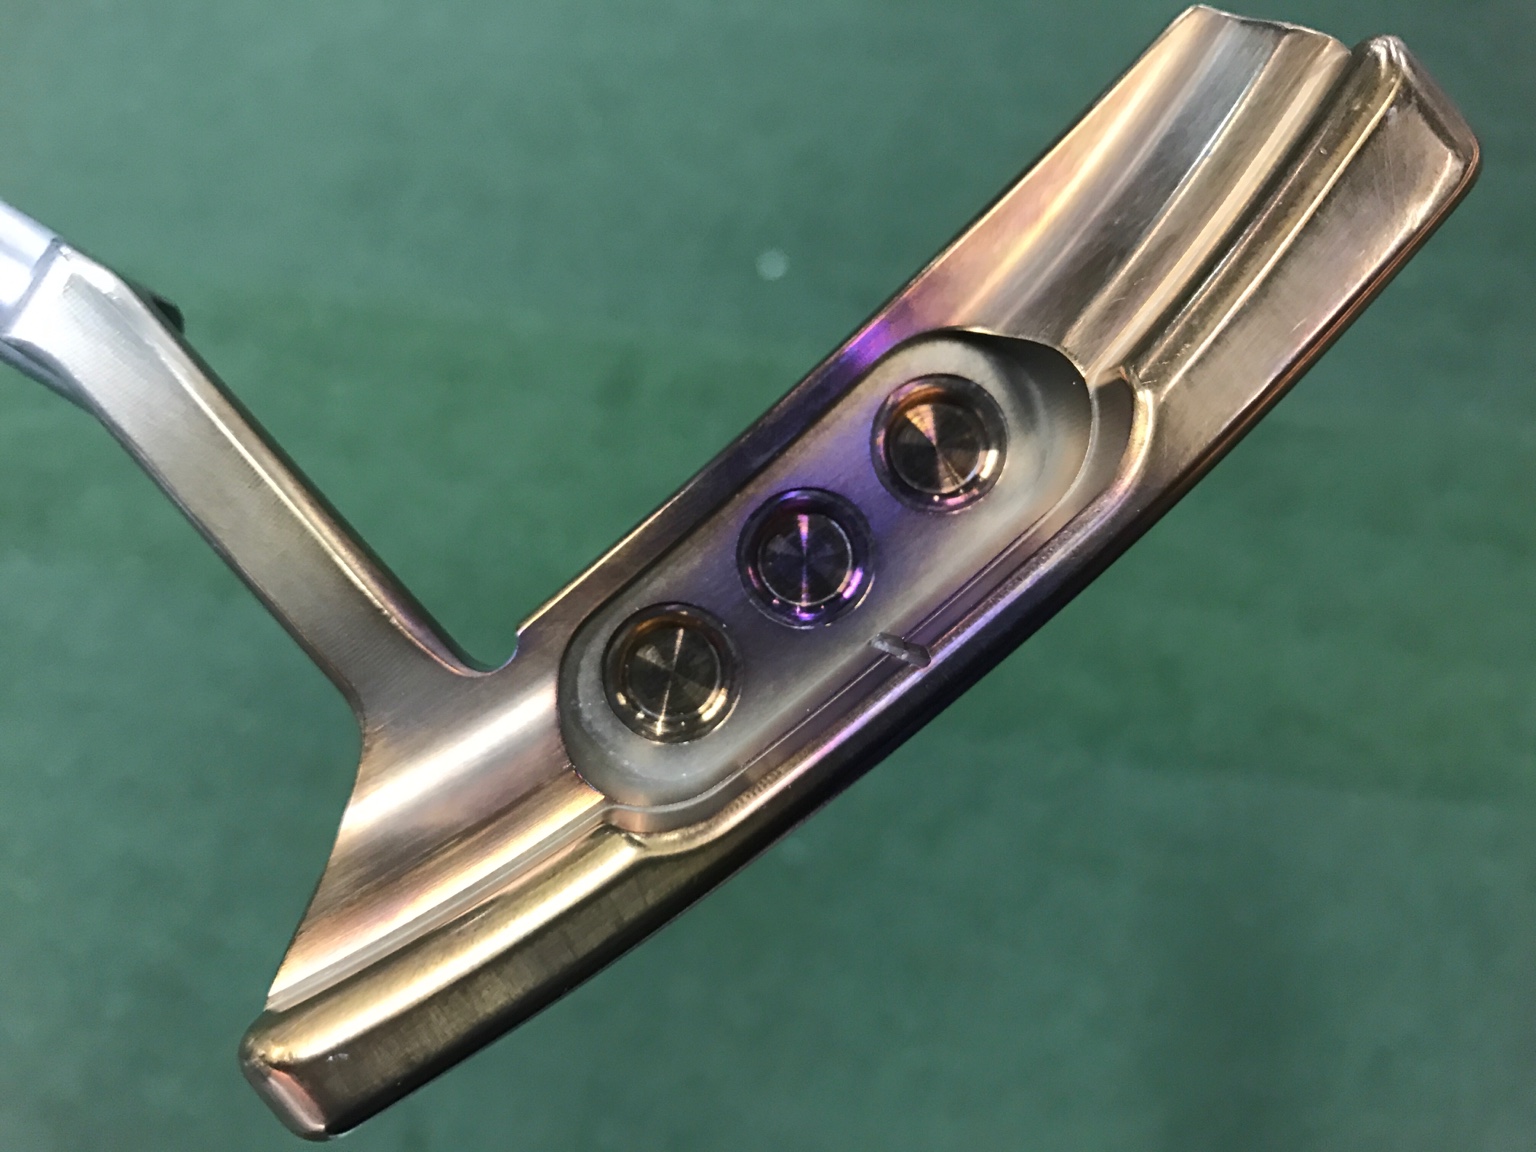
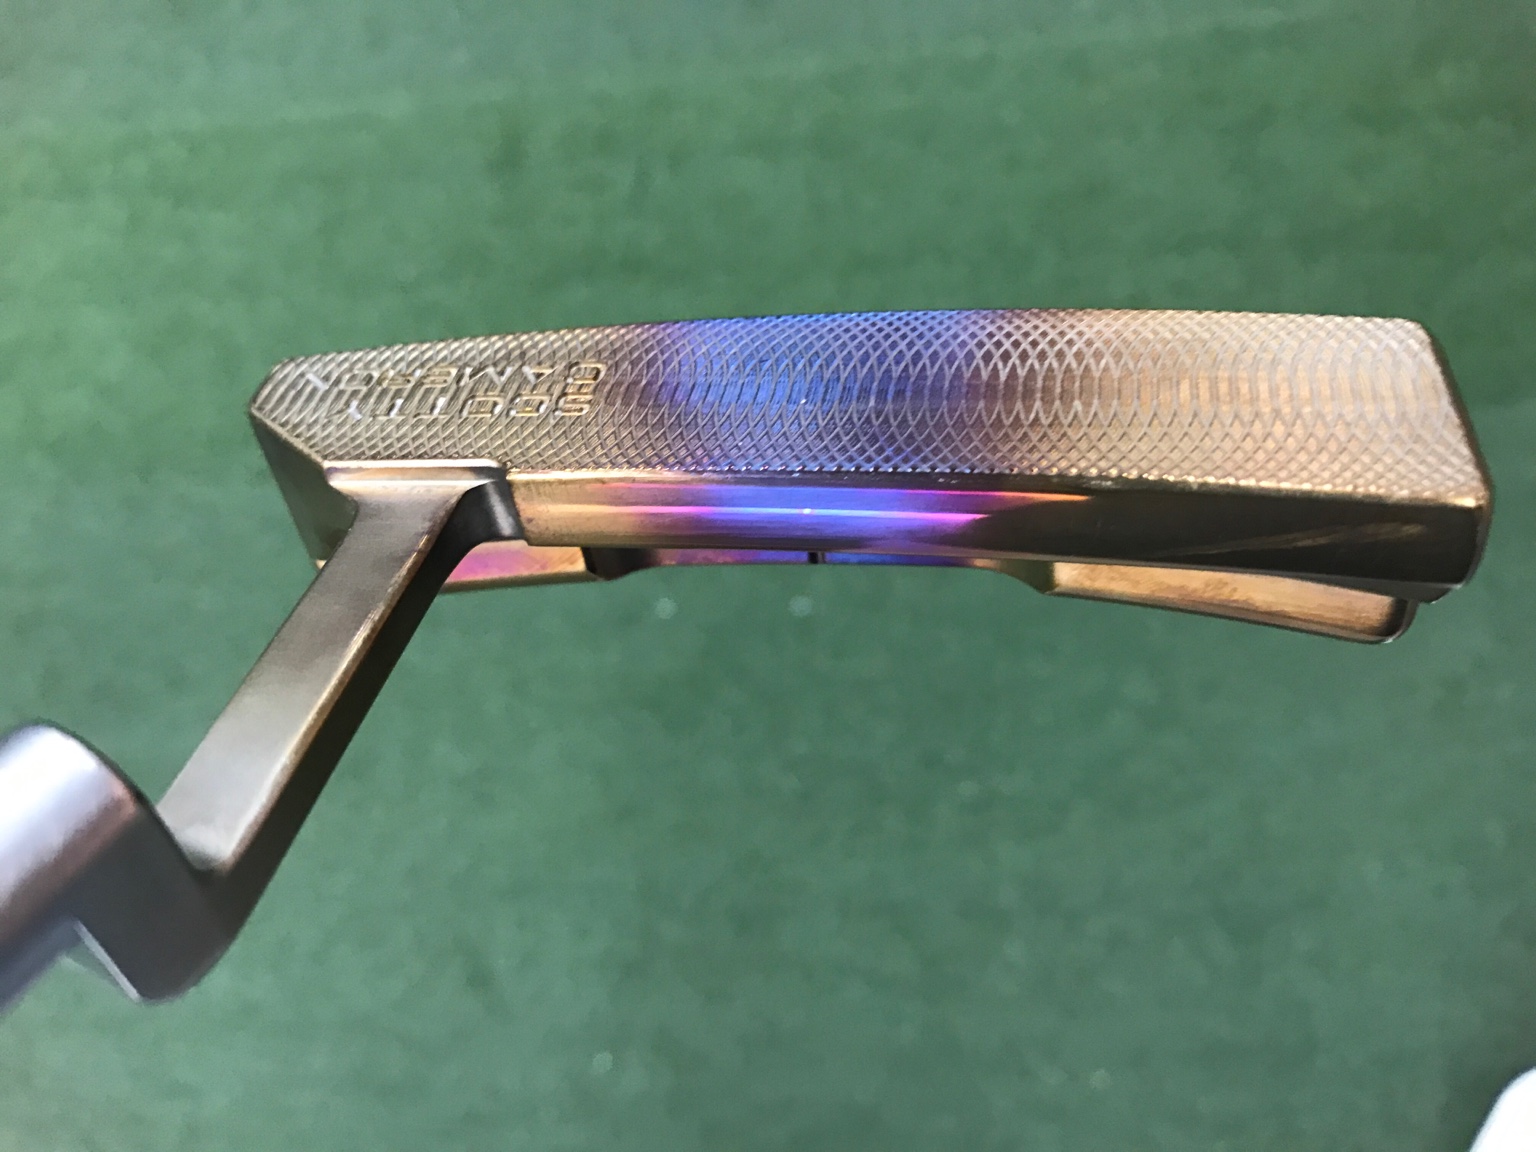
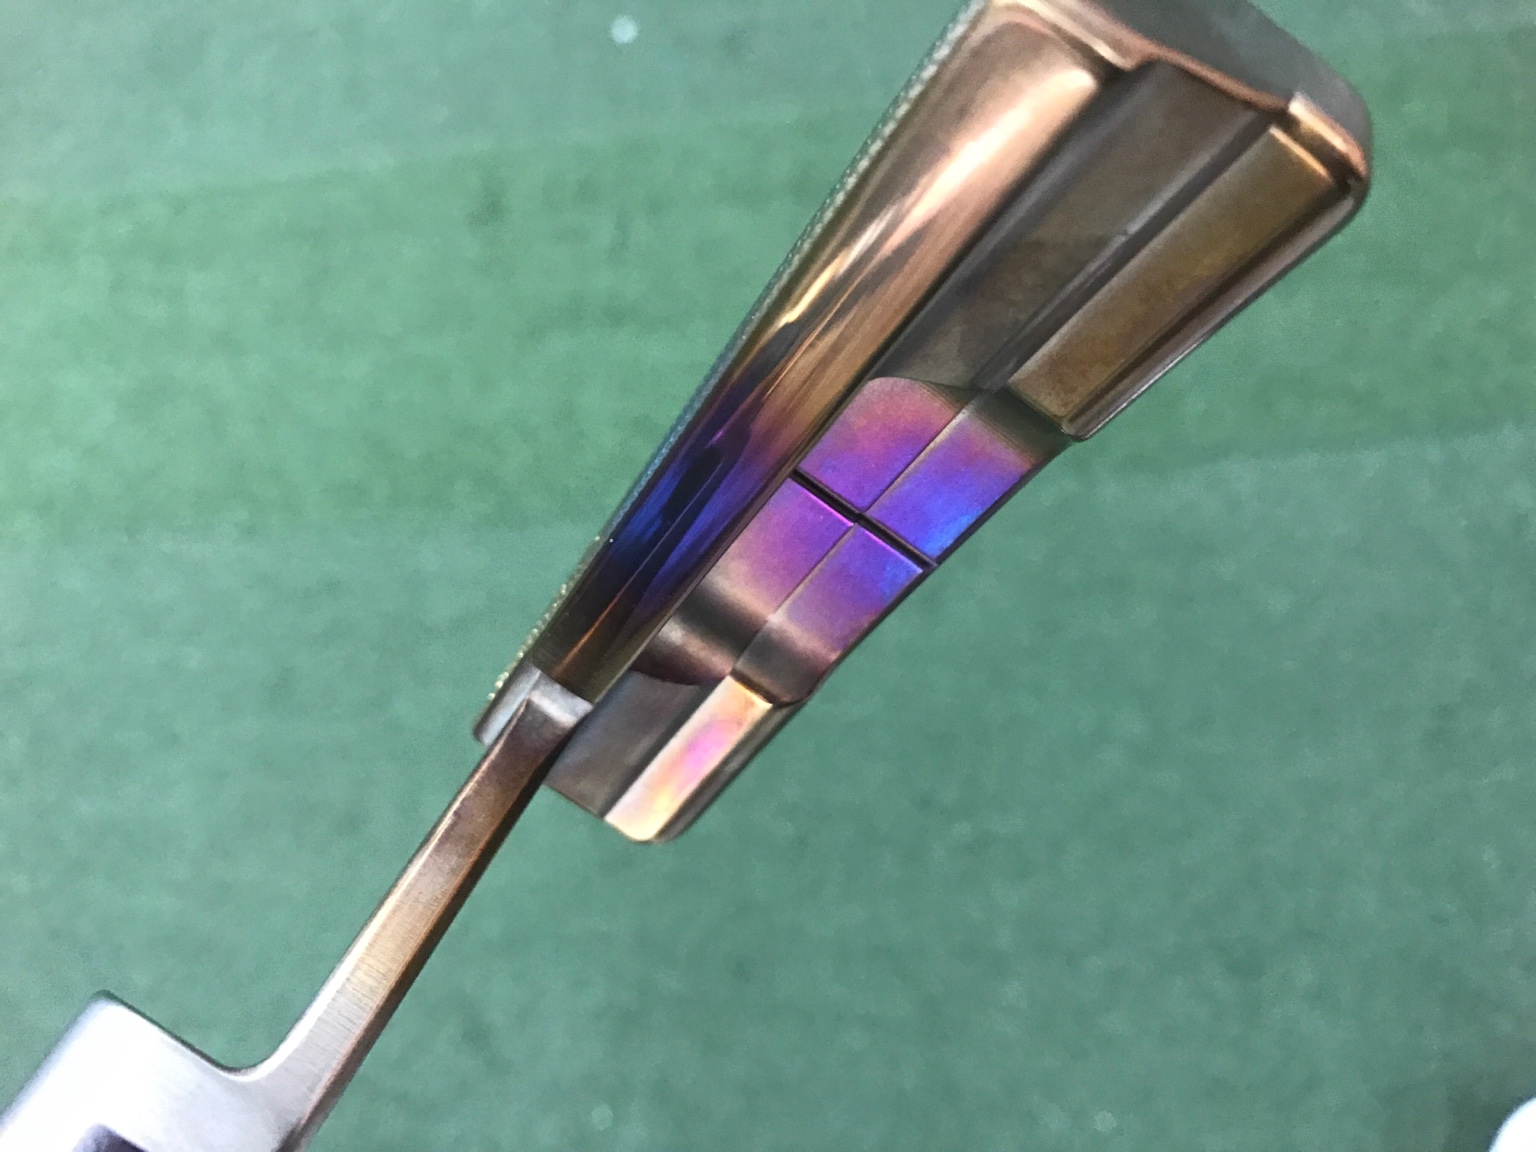
So I have been wanting to do a little bit of "hand hammering" on a putter for a while, and I decided to go for a high polished torched blue with a hand hammered top line, neck and bumpers on this C62. I think all turned out great, but the corrosion all over the head has caused deep pitting over the entirety of the putter. It's the only thing that's keeping me from loving this putter.


I think I'm going to have to settle for the dull sandblasted look because it roughs the surface up enough to mask the pitting
Sent from my iPhone using MyGolfSpy
-
With all of these golfsmith stores closing all over the nation, if you can find one that has some used higher end putters, you're going to get a great deal. I picked up this circa 62 for under $80.
This was a super quick sandblast, and torch job. I'm not ready to paint it, bc I think I might start over and hand sand it to get it in as pretty shape as possible.
Before:


After:
Sent from my iPhone using MyGolfSpy
-
Damn... I thought RB7 did the DIY as a hobby only... that stuff there is industrial grade! Good s***!
Yeah those polymer re-fins are absolutely gorgeous.
Sent from my iPhone using MyGolfSpy mobile app
-
-
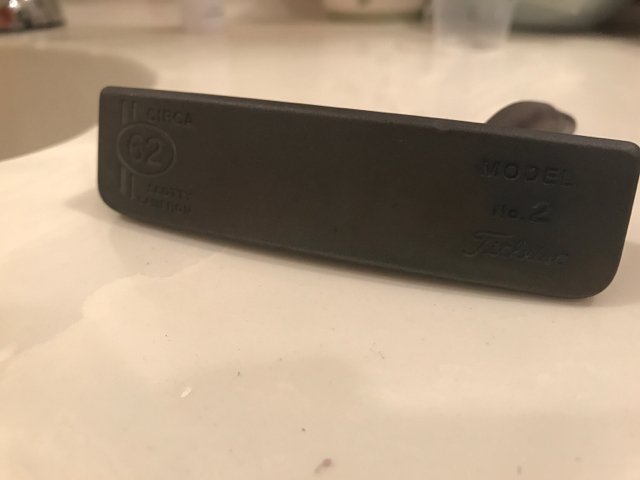
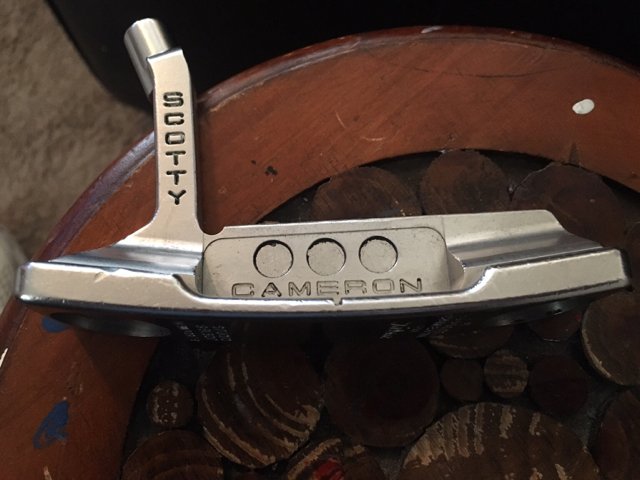
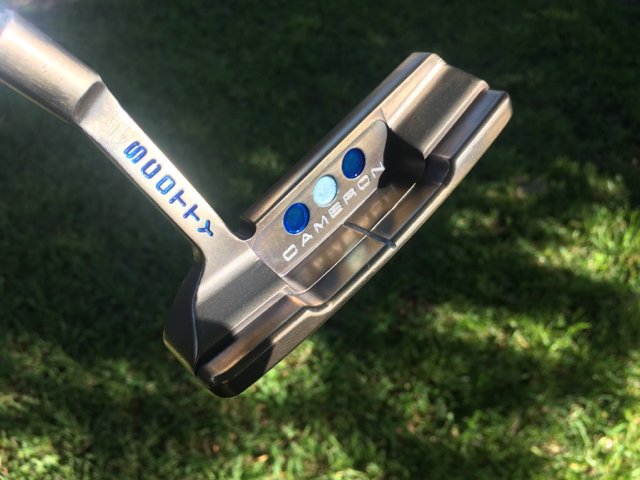
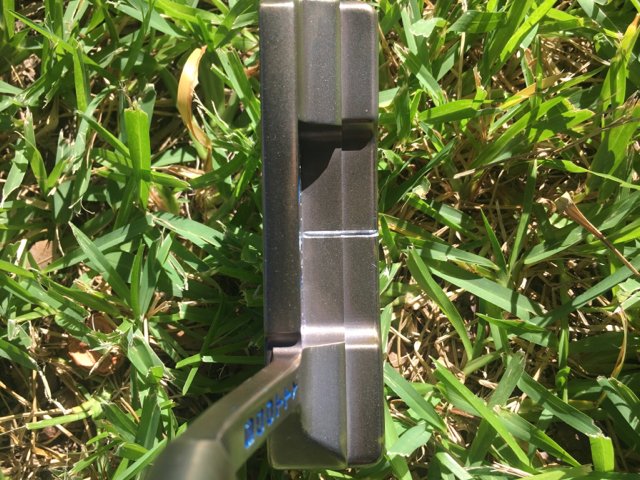
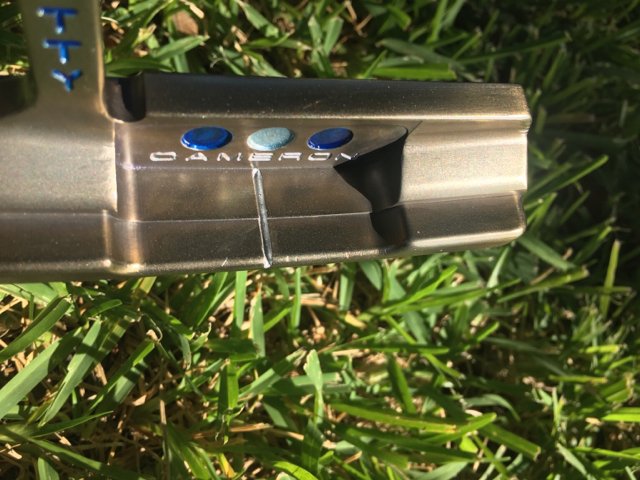
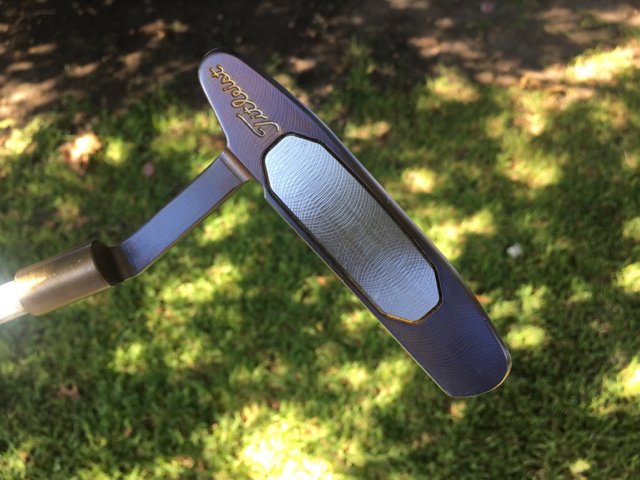
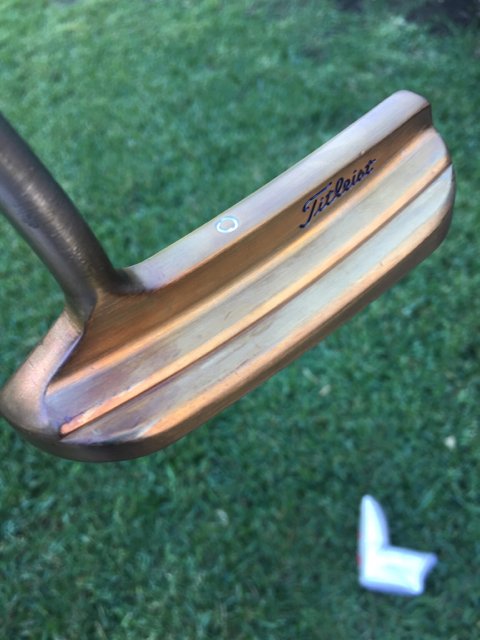
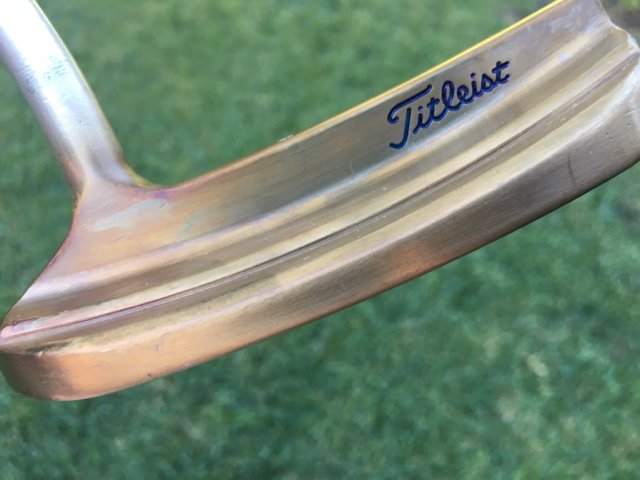
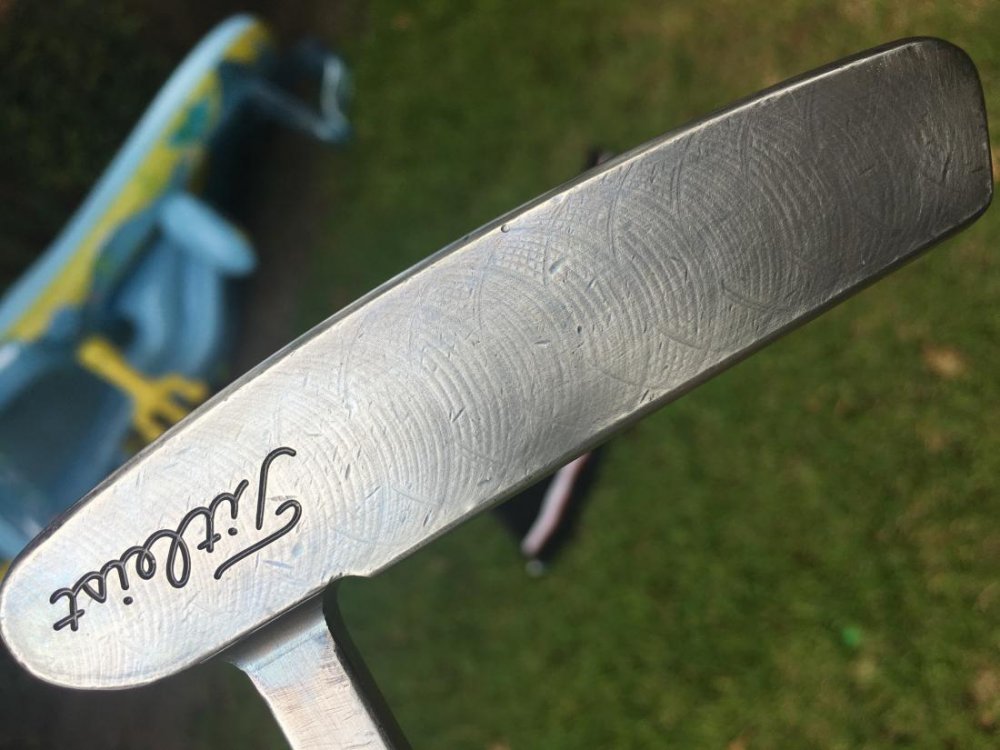
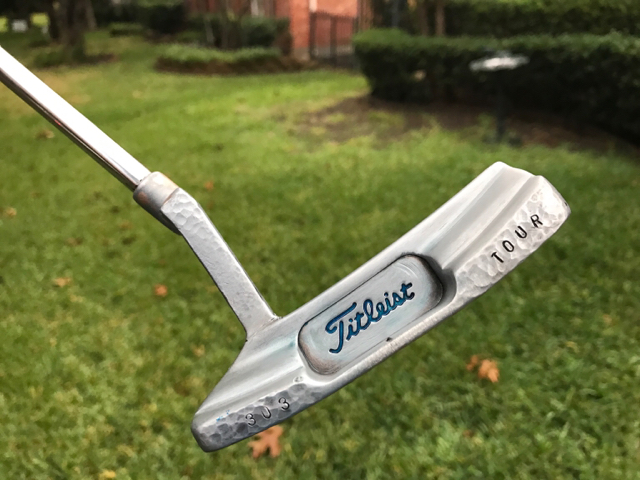
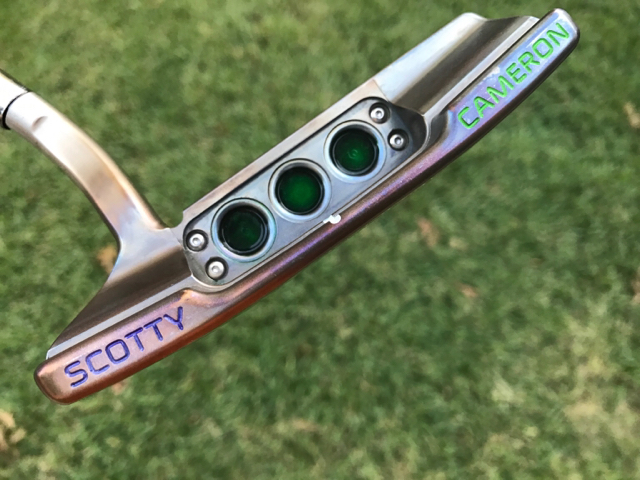
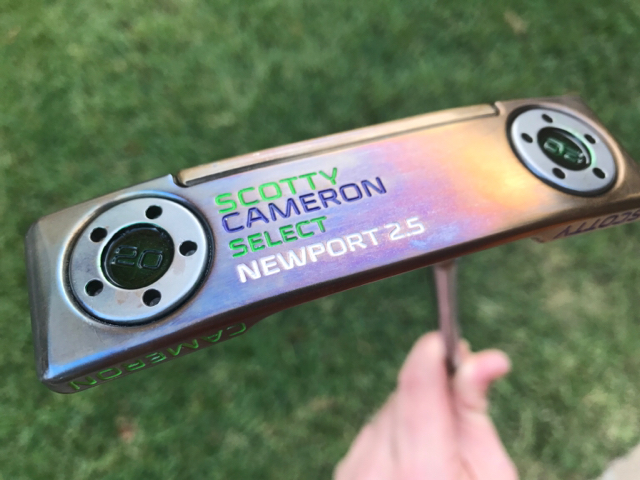
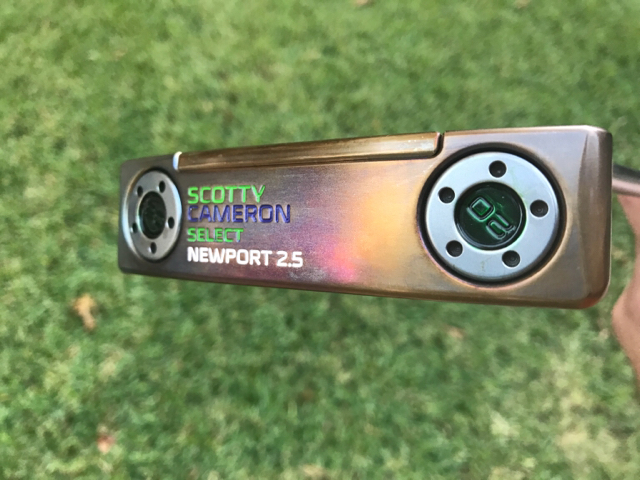
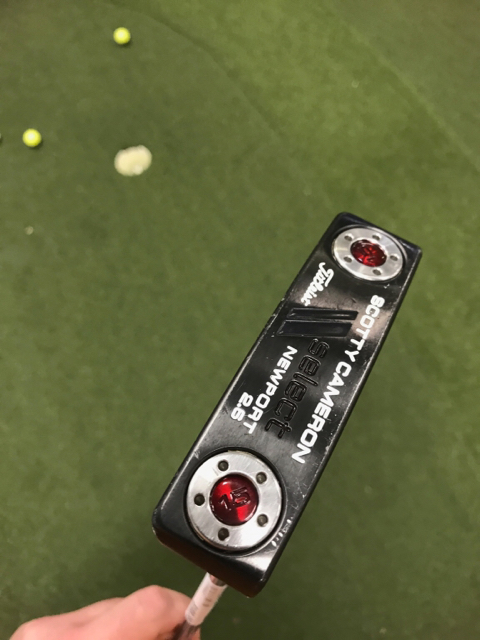
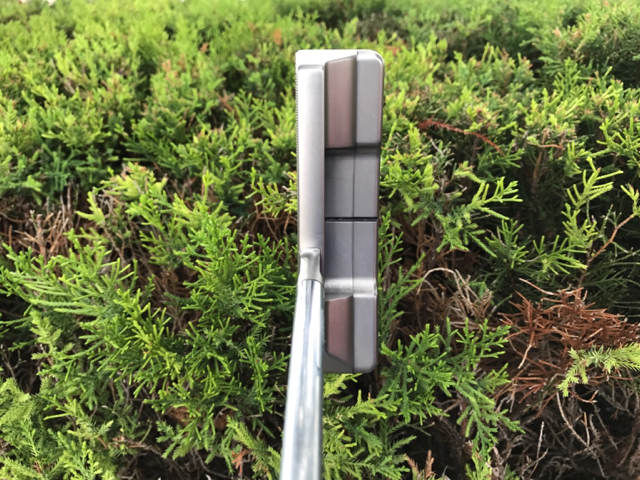
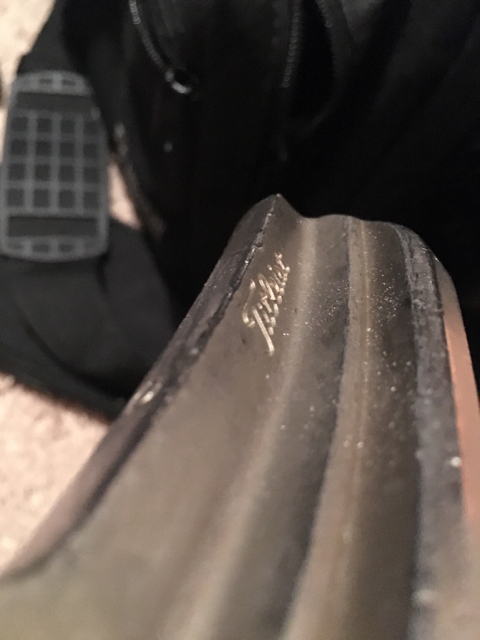
This is a '16 Newport M2 I just finished yesterday:
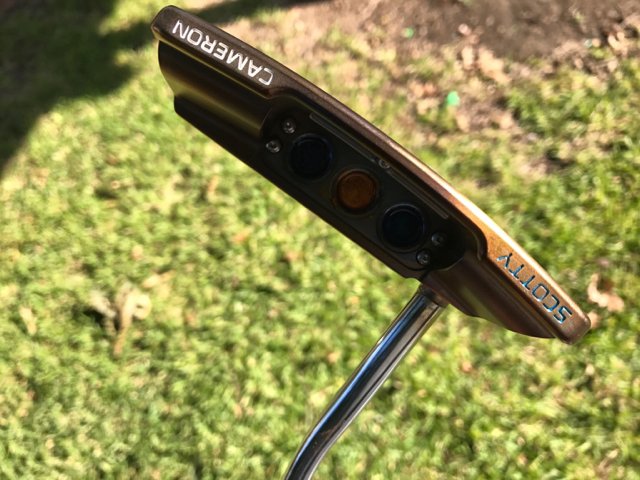
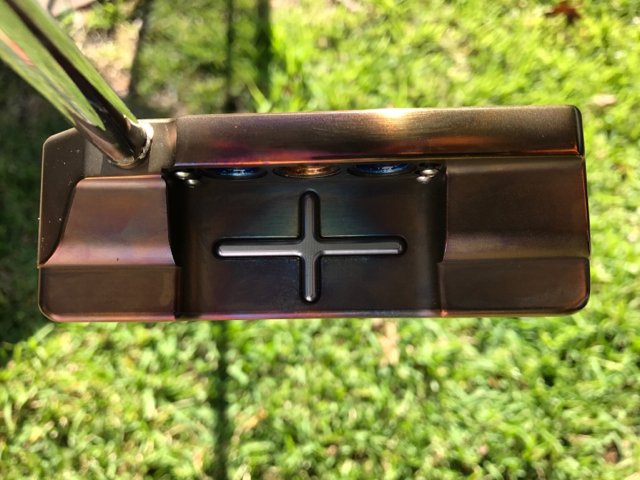

This was in progress of paintfill, so the "Titleist" is smudgy, but it's a great pic that captures the highlights in the finish:
Sent from my iPhone using MyGolfSpy mobile app
-
Are those blacks polymer or black ox? Either way they're very well done
Sent from my iPhone using MyGolfSpy mobile app
-
Awesome stuff rb7
Sent from my iPhone using MyGolfSpy mobile app
-
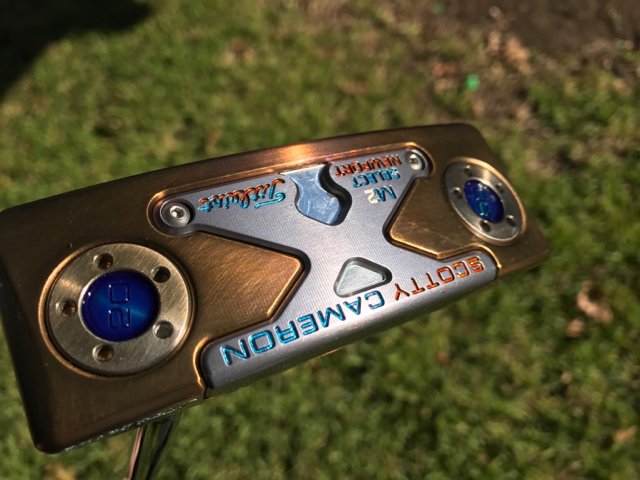
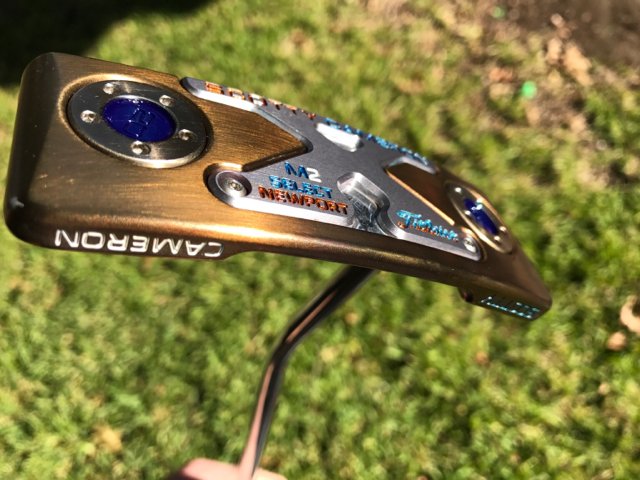
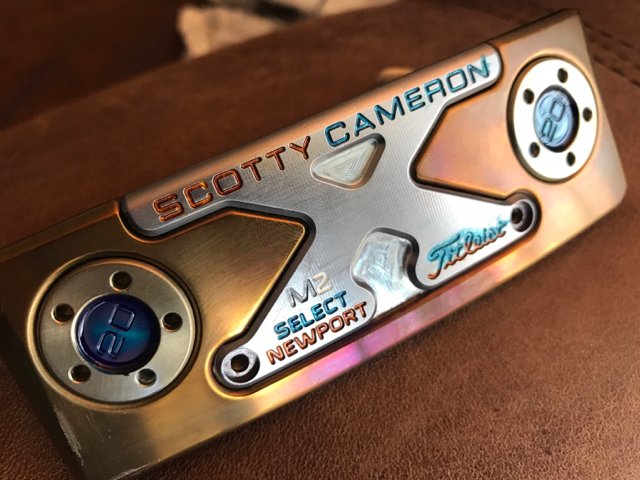
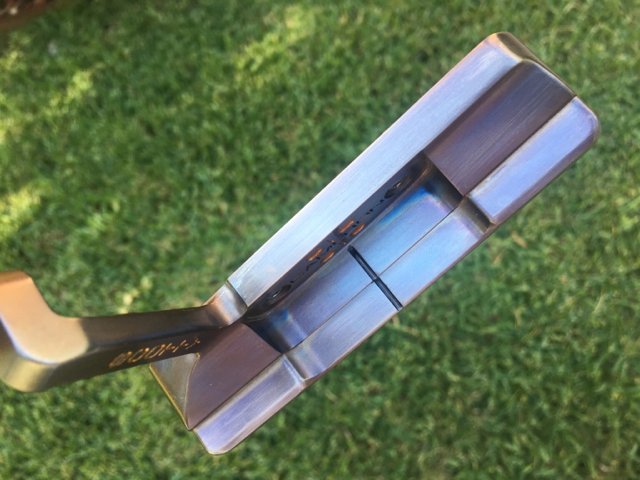
Another Studio Select Newport 2:
Before:
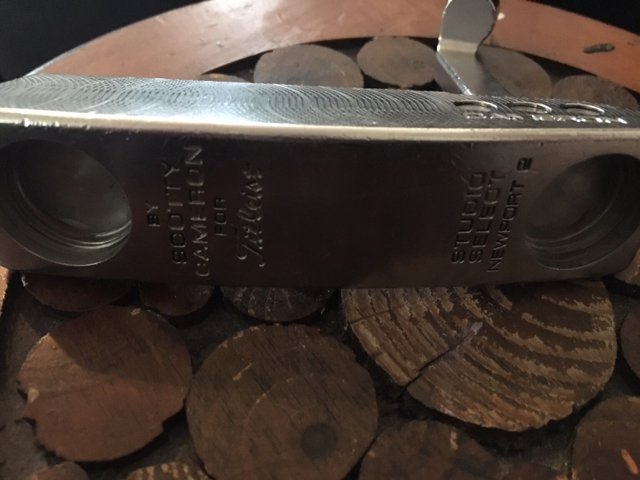
After:
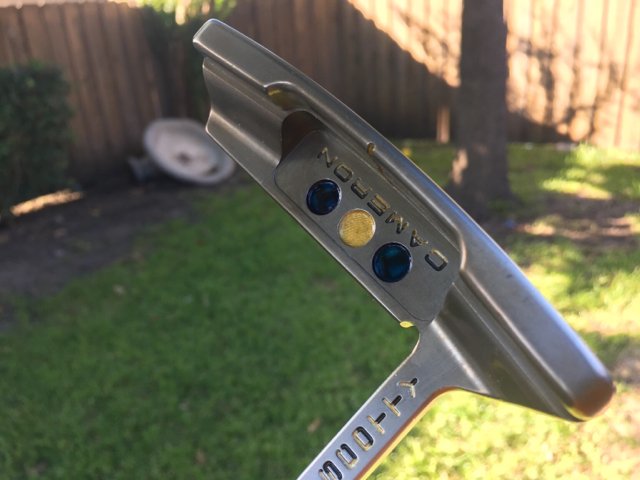

Sent from my iPhone using MyGolfSpy mobile app
-
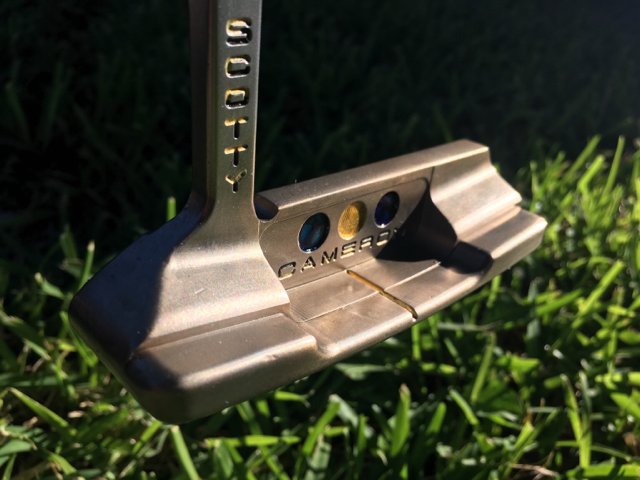
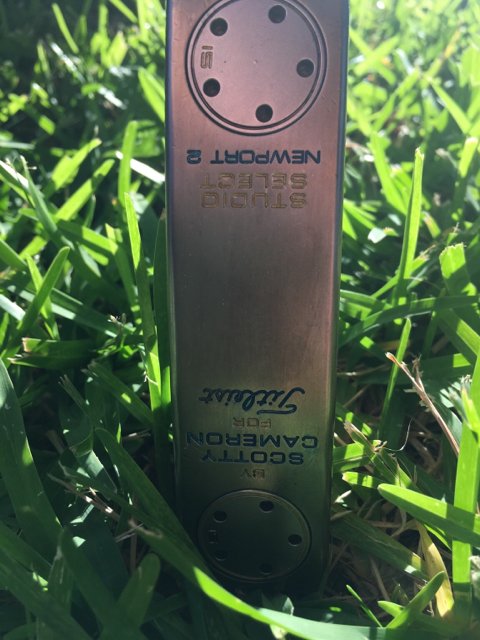
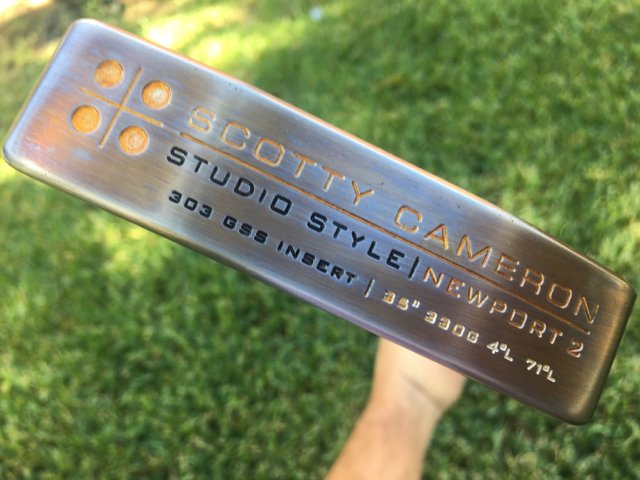
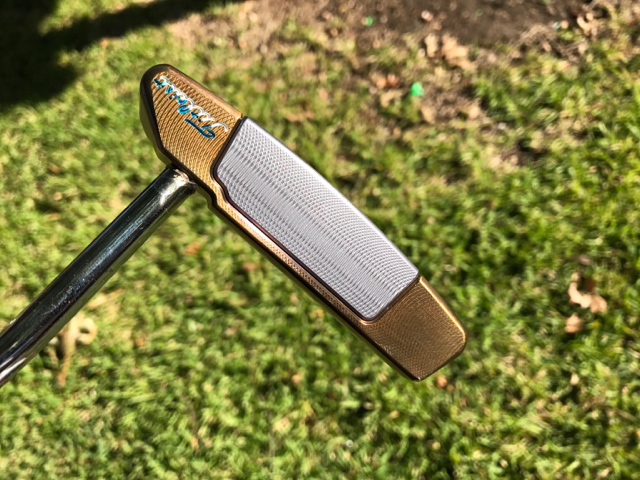
Studio Select Newport 2 Mid-Slant
Previous condition was so-so... probably just shy of 7/10.
Refinished:


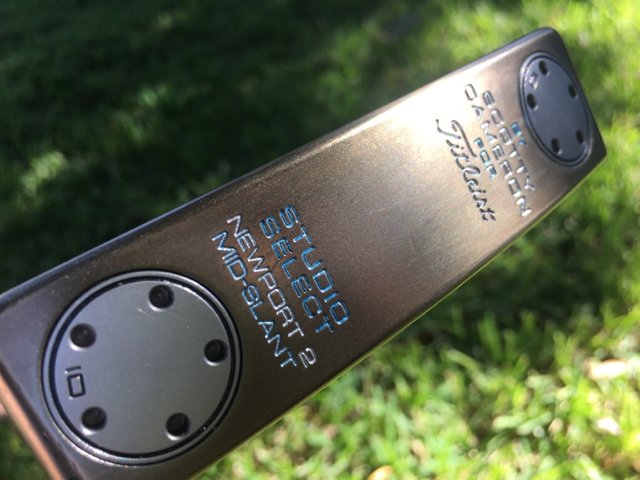

Side note: paintfill is Dallas Cowboys themed. :-)
-
Yes, but the weight loss is negligible. The most recent studio Style I did required more filing and sanding than anything else I've done to date. Lost
Sent from my iPhone using MyGolfSpy mobile app
-
Studio Style newport 2 I finished last night. I'm running out of putters


Sent from my iPhone using MyGolfSpy mobile app
- Peterpc2828, Ballenbrandon, McaseyM and 1 other
-
 4
4
-
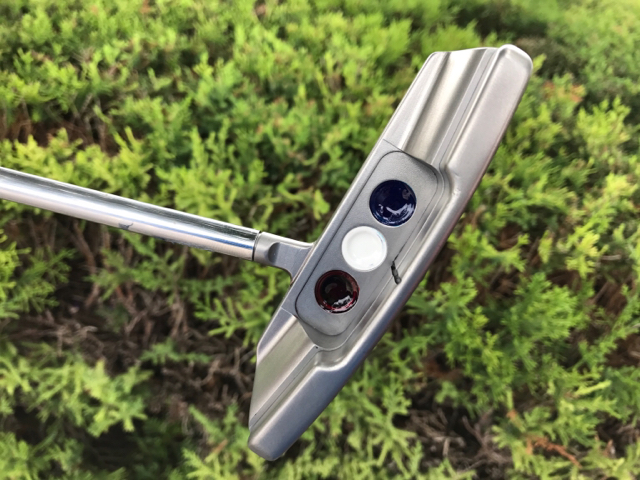
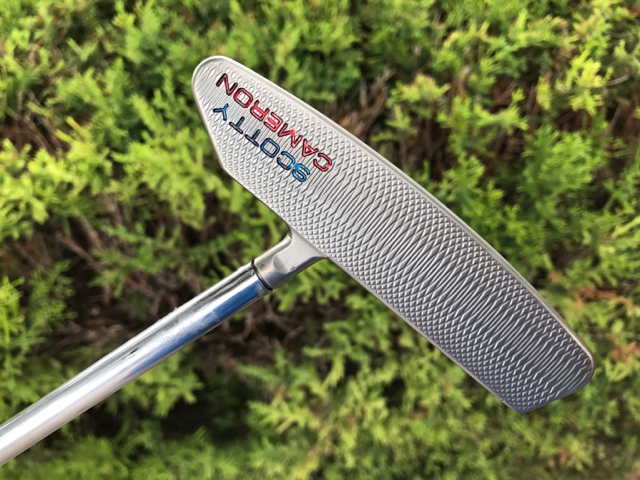
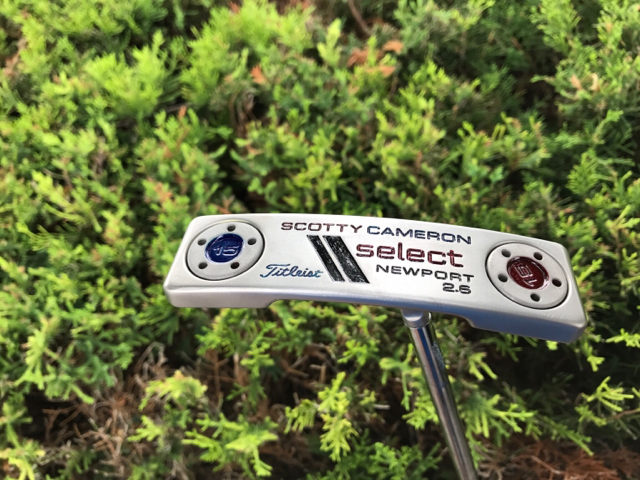
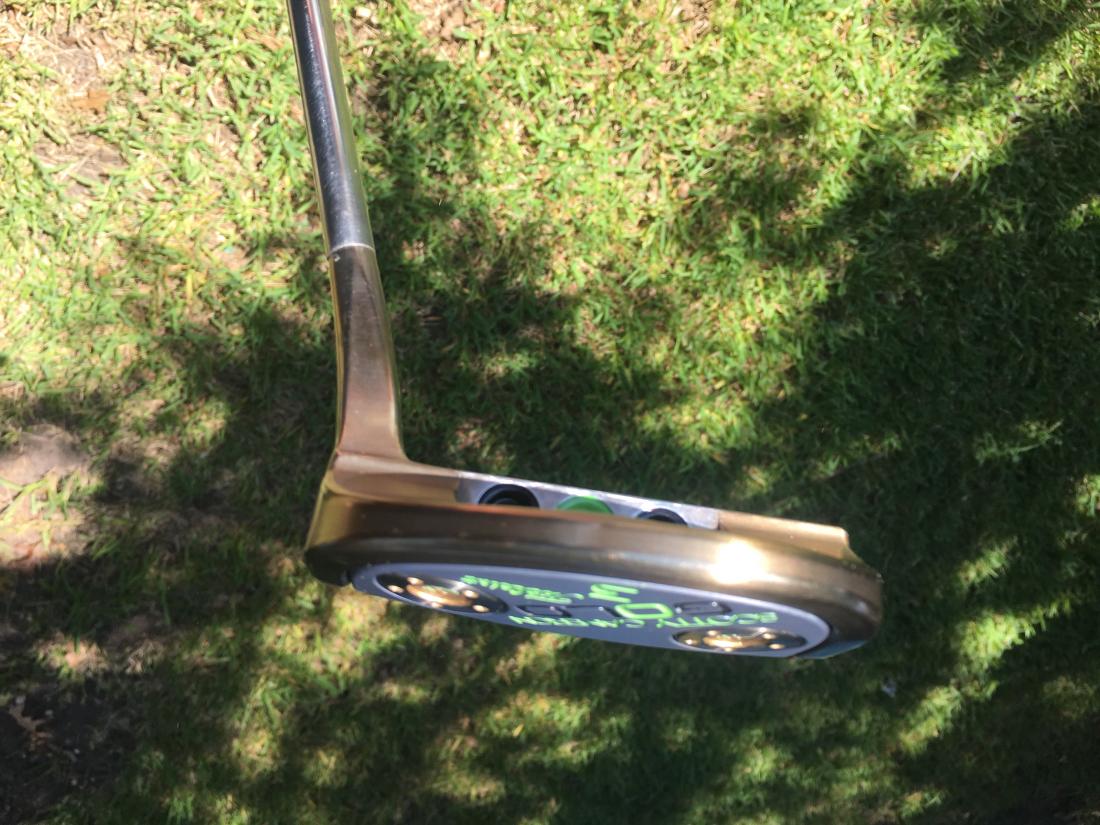
Most recent refinish


Anyone else care to share? I know there's some gems out there.
Sent from my iPhone using MyGolfSpy mobile app
-
Thank you. The Squareback is my favorite of the bunch as well.
Sent from my iPhone using MyGolfSpy mobile app
-
Hey MGSers
I thought it might be cool to have a central thread for the group to share pics/details of recently completed projects, ideas, stucks, ask/answer questions, help those who are beginning the highly rewarding process of DIY refurbs/finishes avoid some of the landmines we ran (and sometimes still run) into throughout the course of a project, and maybe even have a contest or two, etc..
If there's already a thread like this, then feel free to scold, mock, and ridicule, but as I browsed (aka: admired) the forum and members' projects, I didn't see one. There's a wealth of collective knowledge and talent within the pages of this community, so it will be neat to see what this thread yields if y'all are inclined to share.
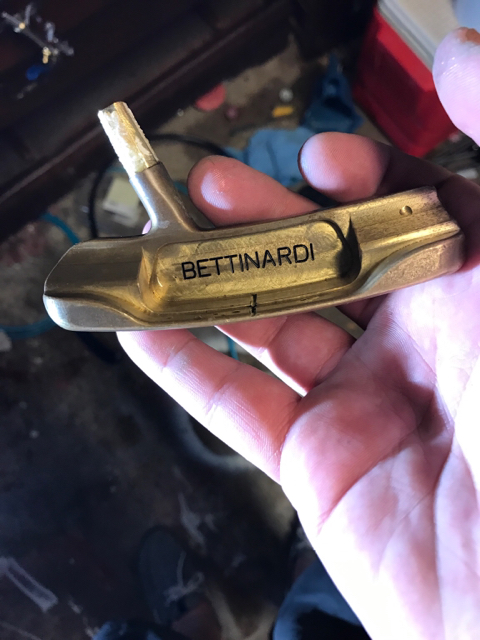
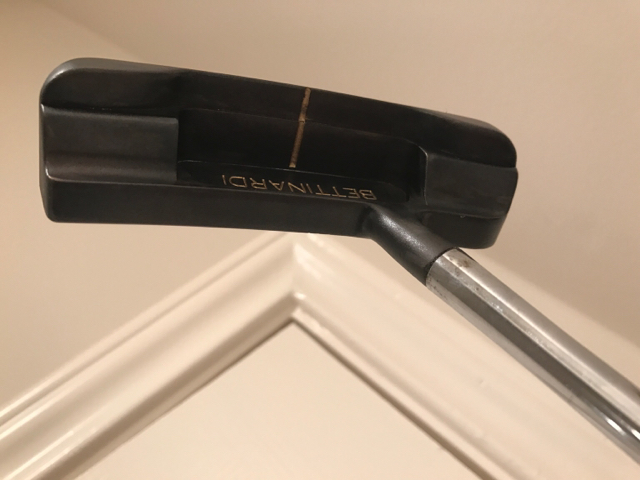
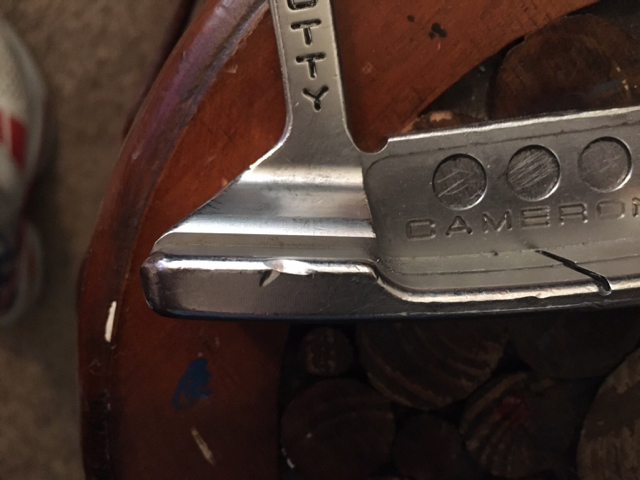
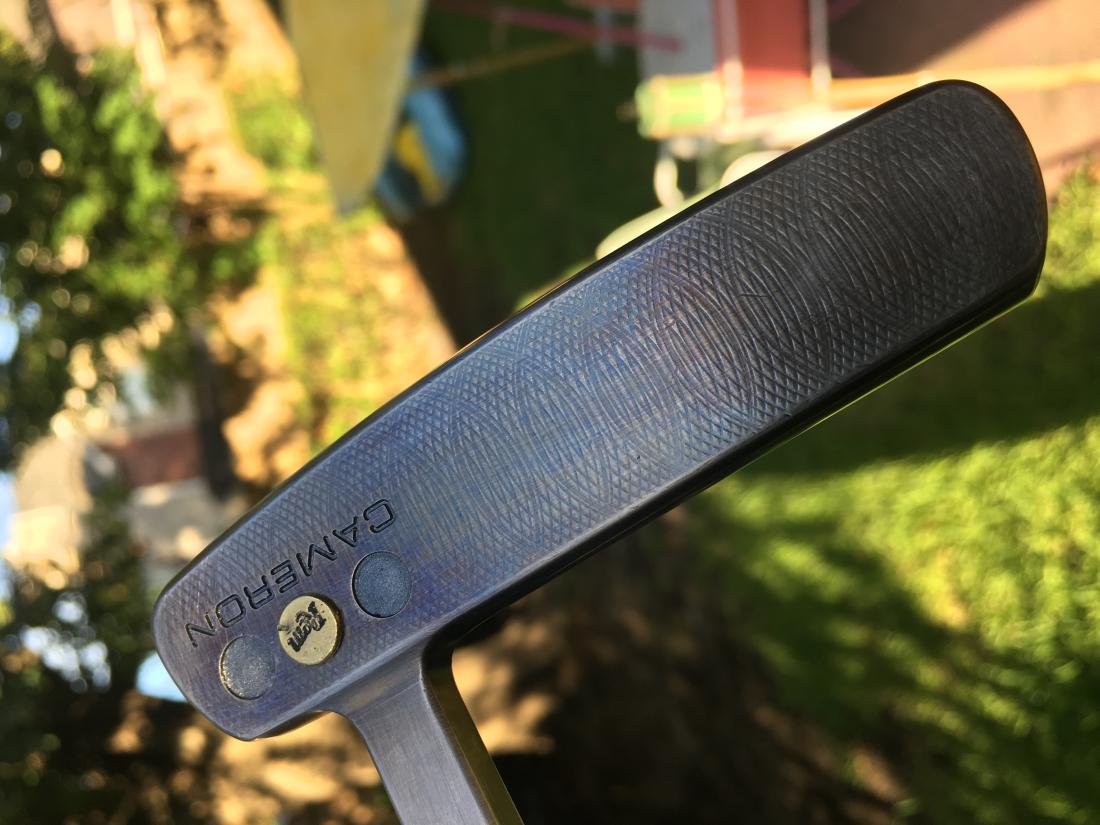
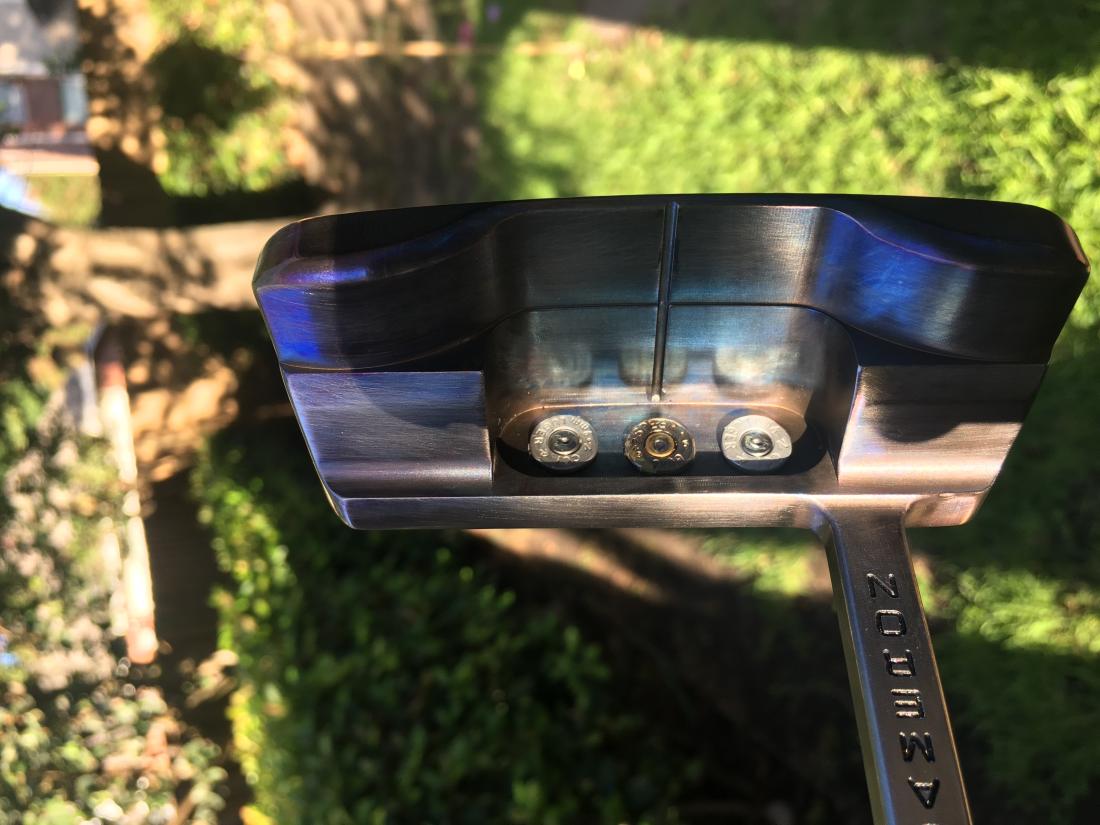
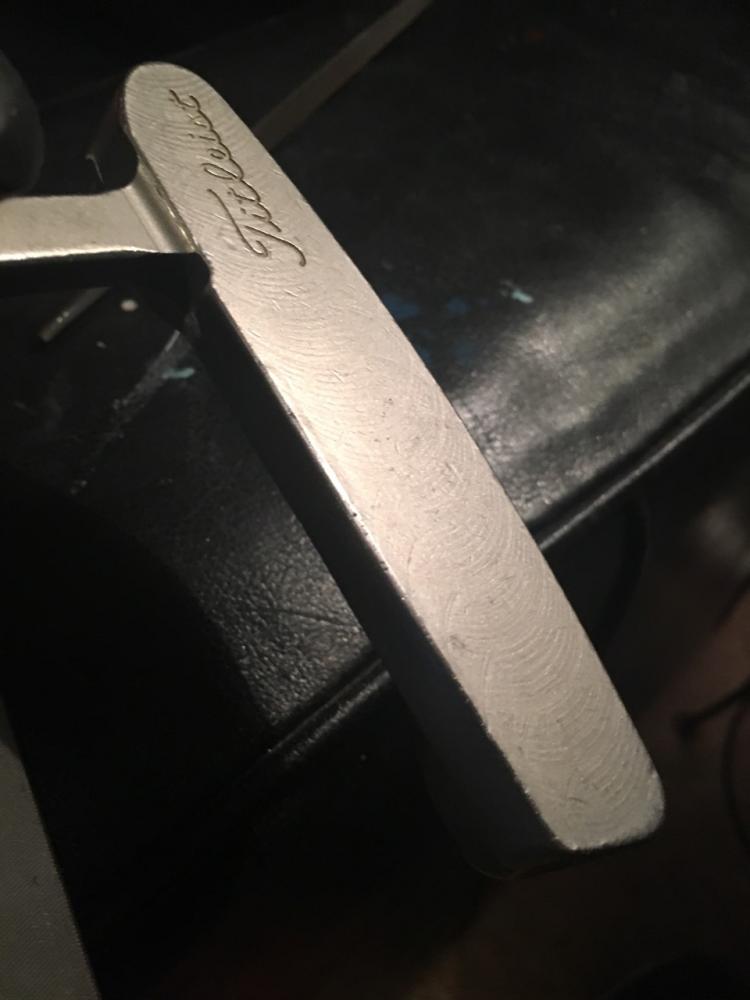
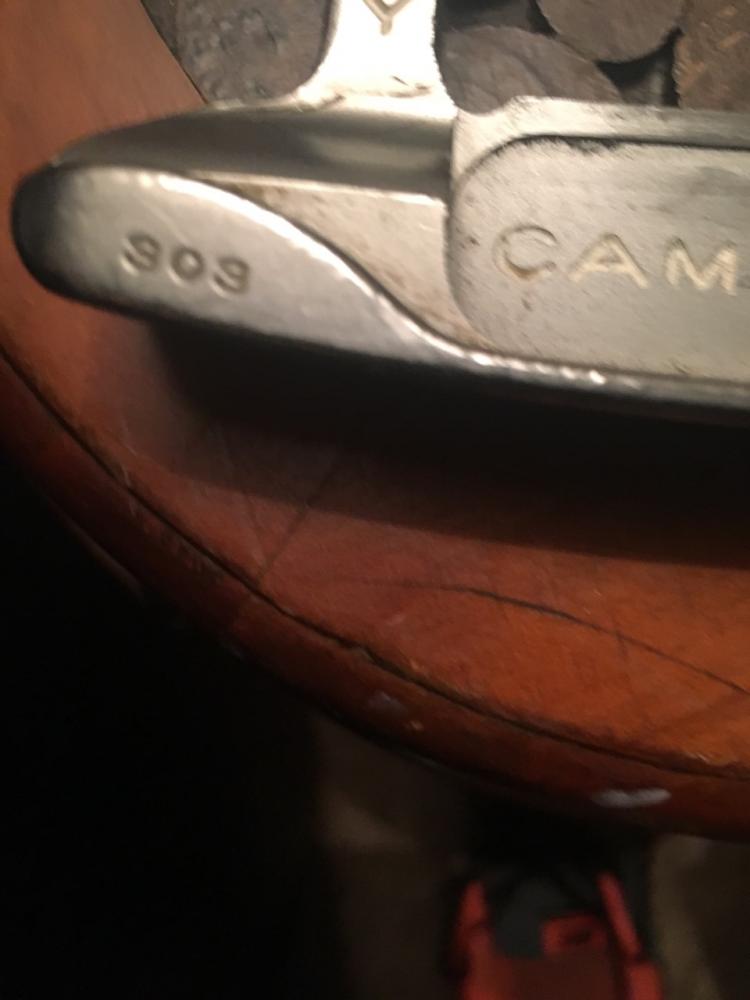
In the spirit of getting us started, here are the three Camerons I've completed over the course of the last 3-4 weeks. I work almost exclusively on putters. I enjoy them most. I've done a couple wedges and woods with moderate success and tried to black ox a set of T-Zoids when I first became interested in this stuff, which was an unmitigated disaster.

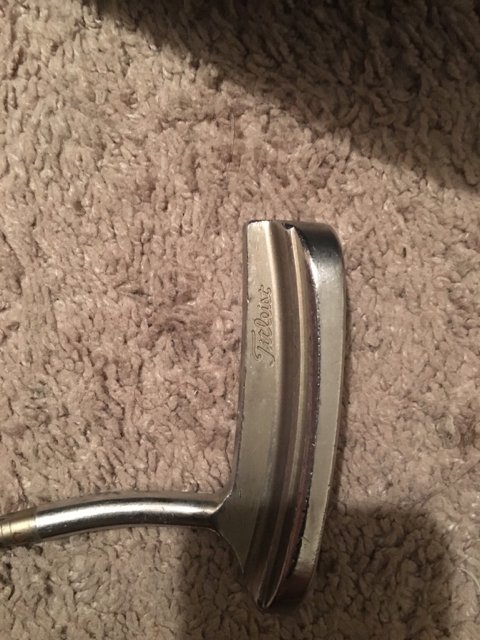
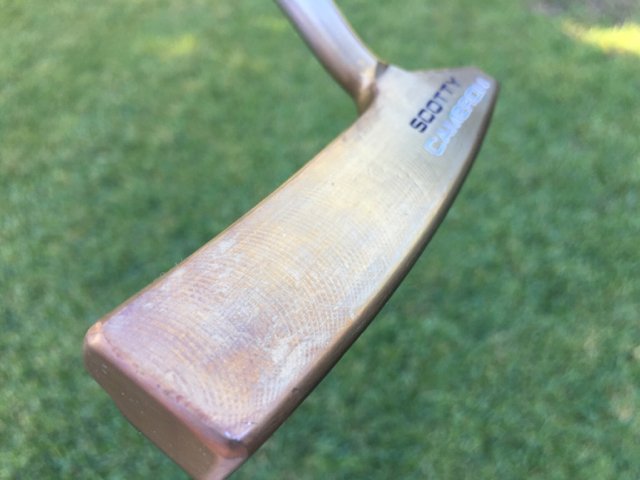
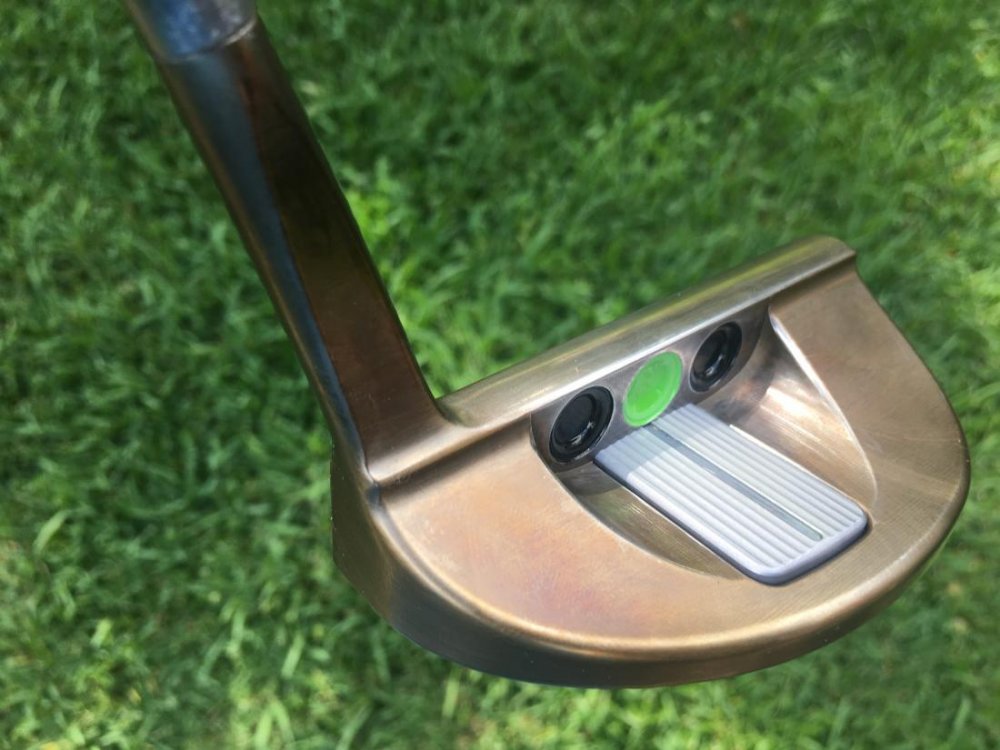
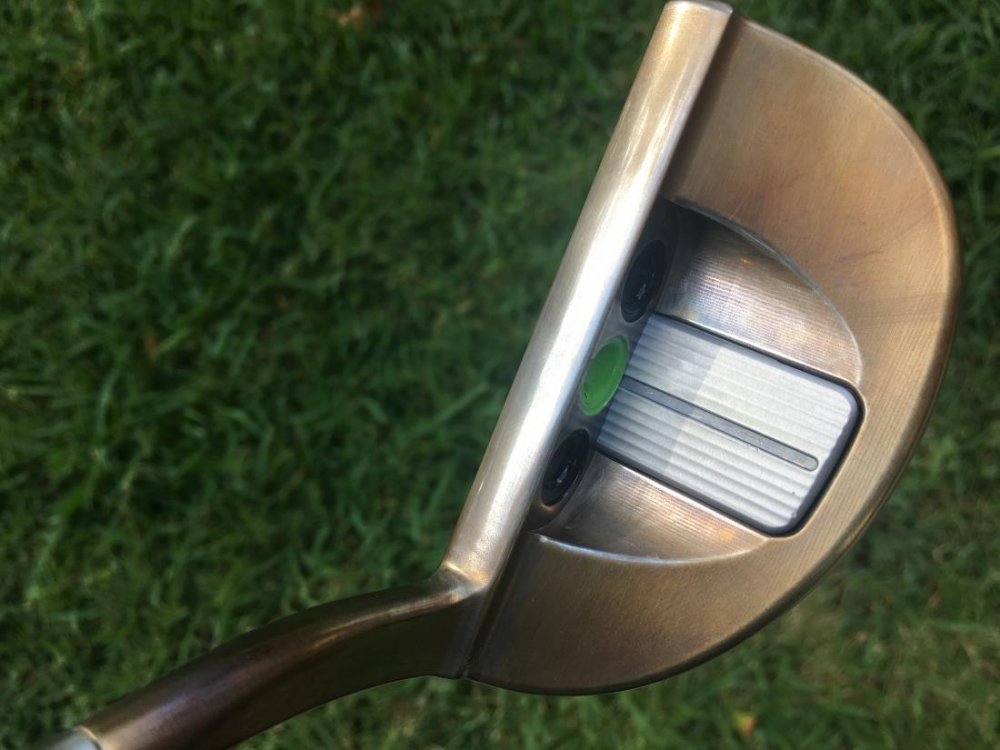
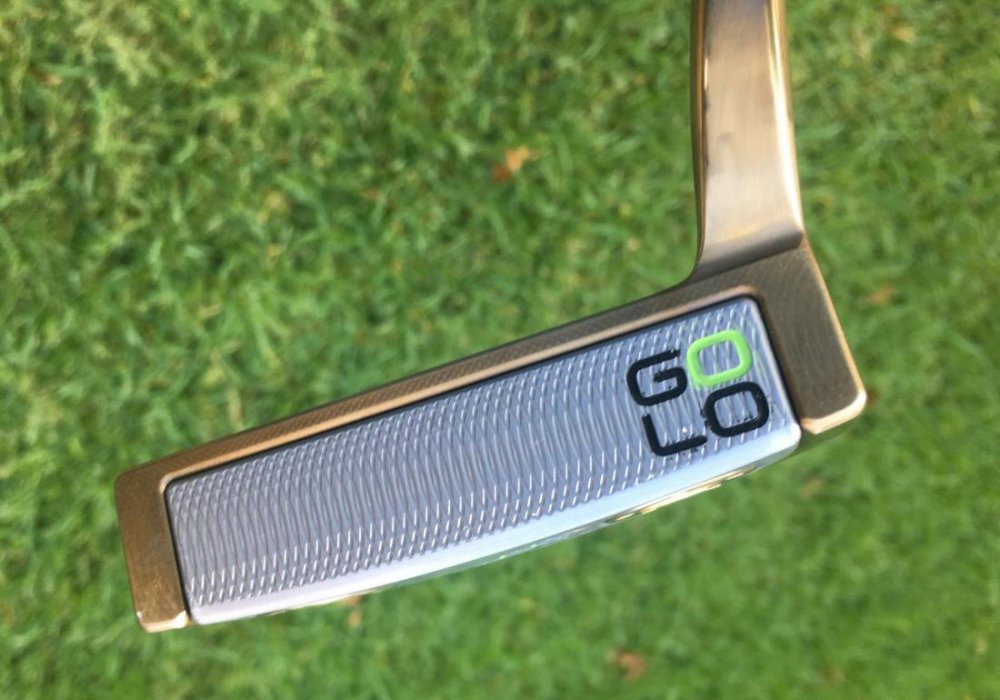
Golo 3:
The before state on this one was basically mint, so envision a factory Golo 3 here (i.e. I didn't take a before pic)
After:


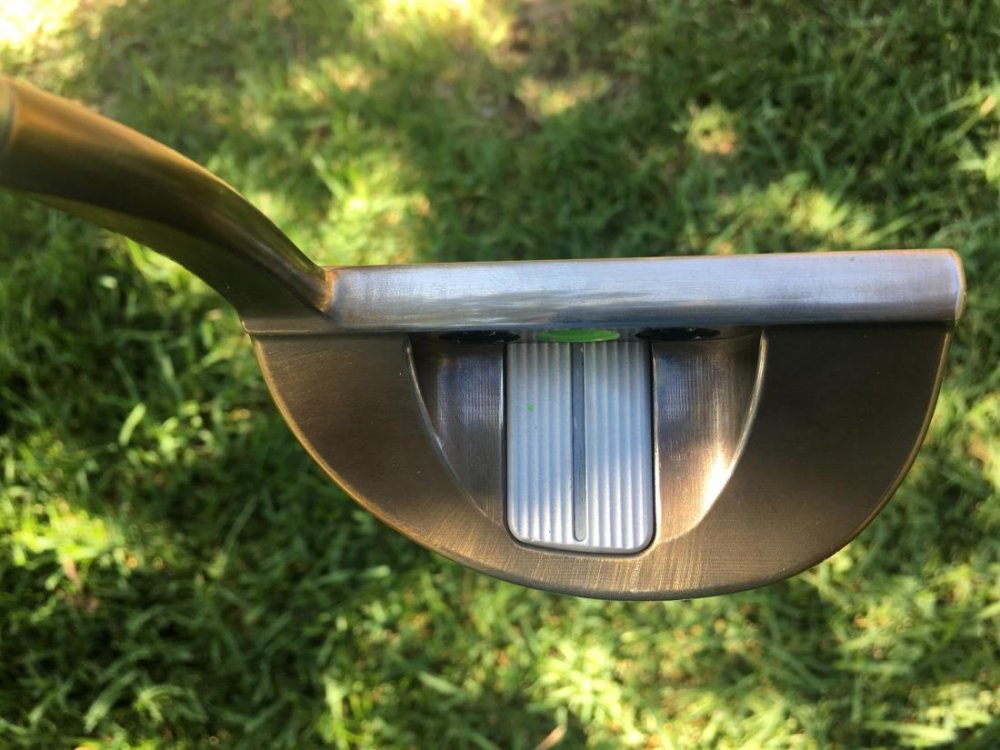

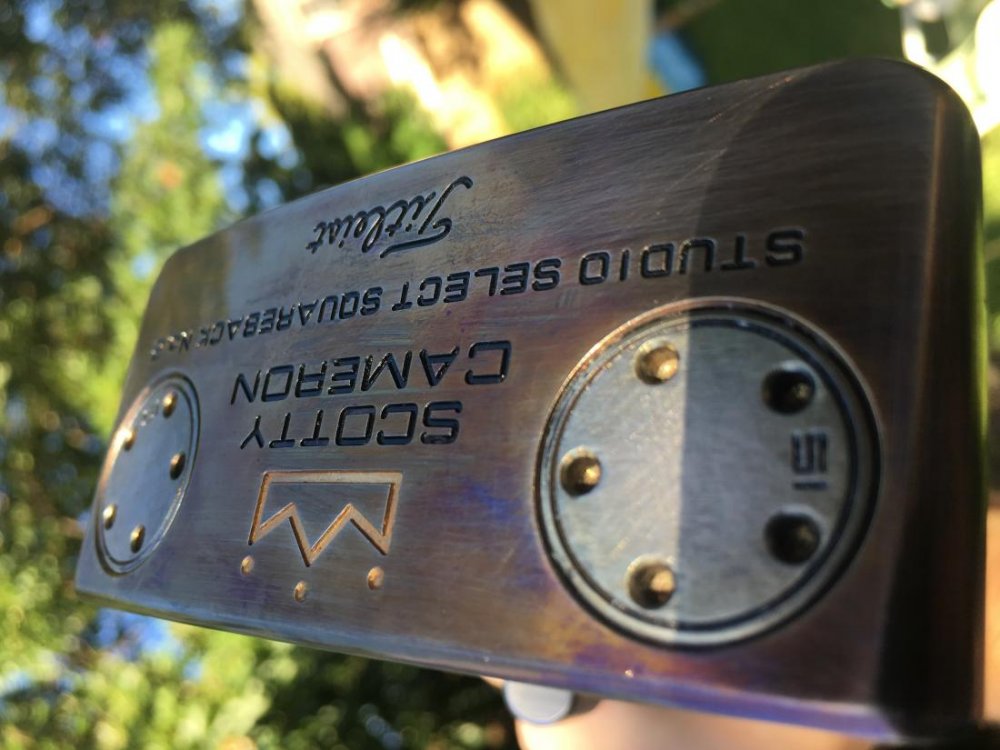
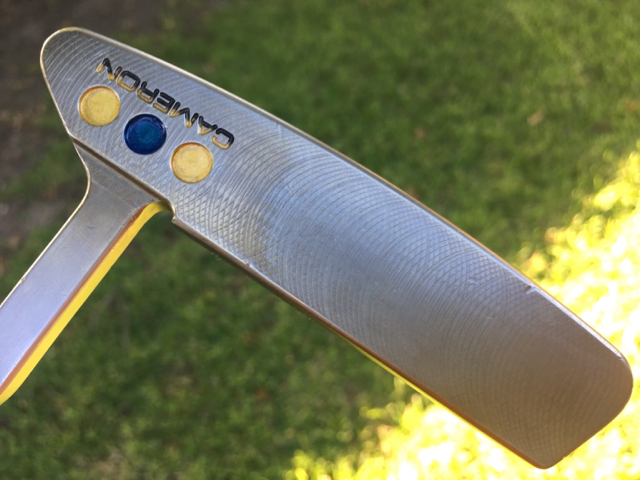
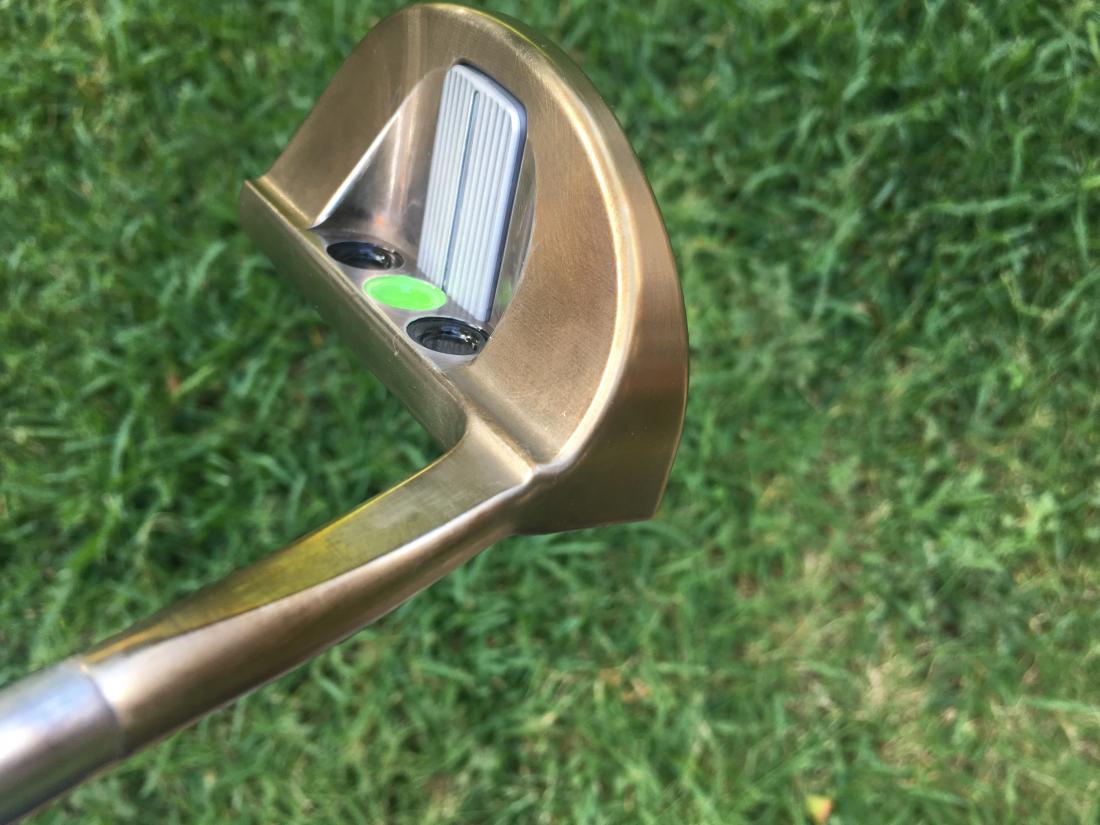
Studio Select Squareback #2:
Another putter in very good shape before I started it, other than a tiny bit of bag chatter.
After:

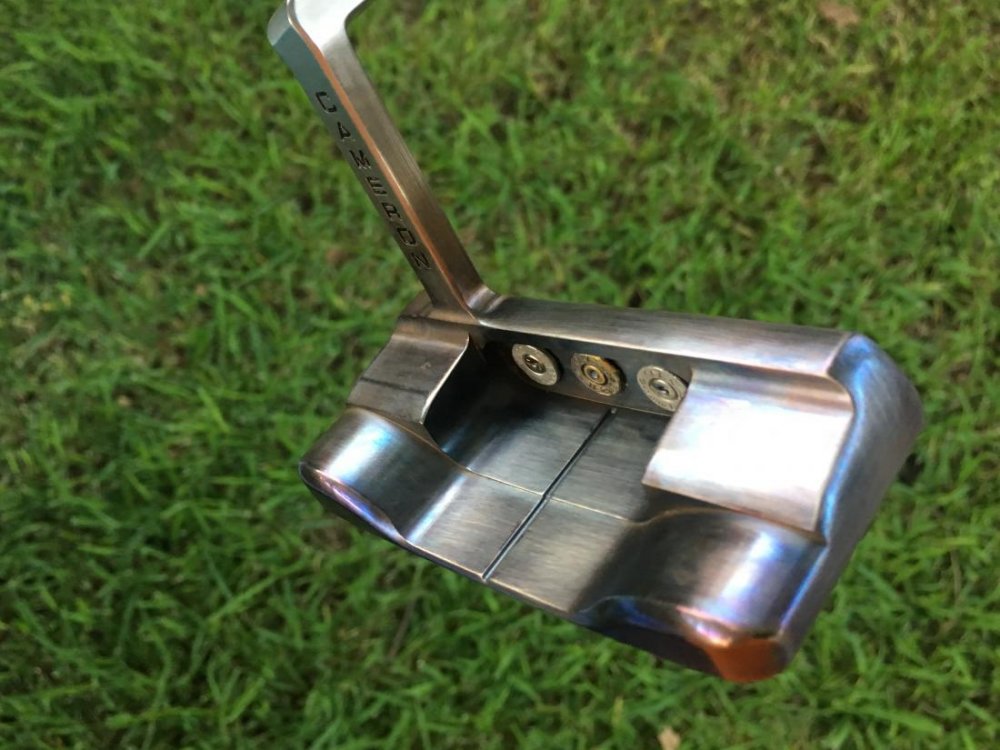


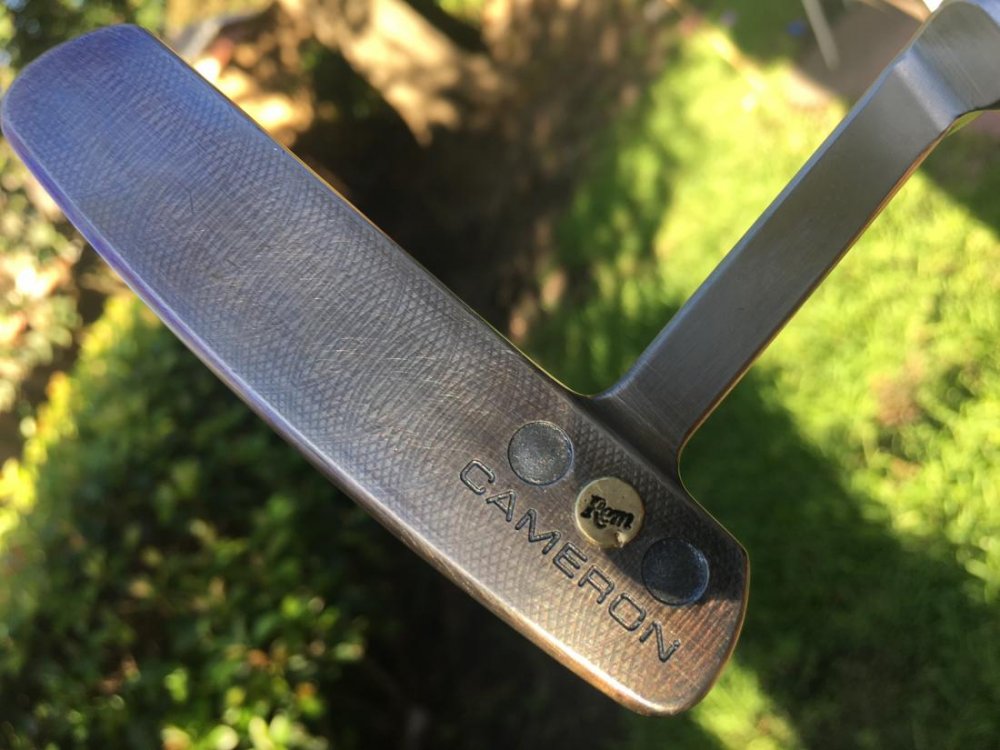
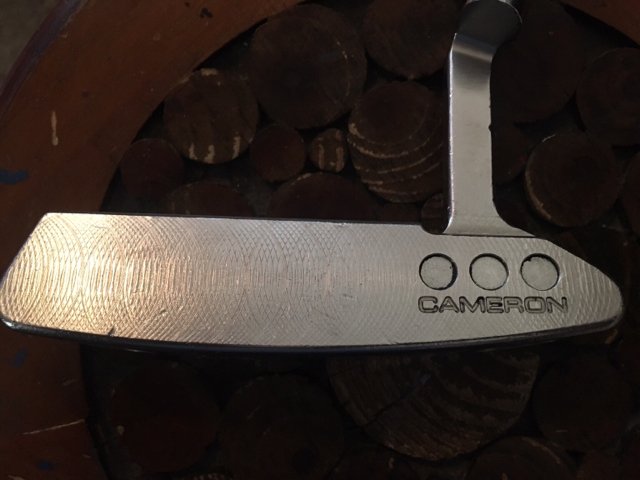
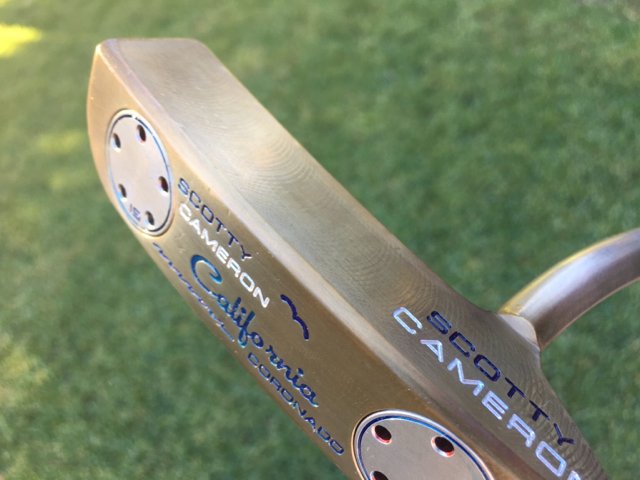
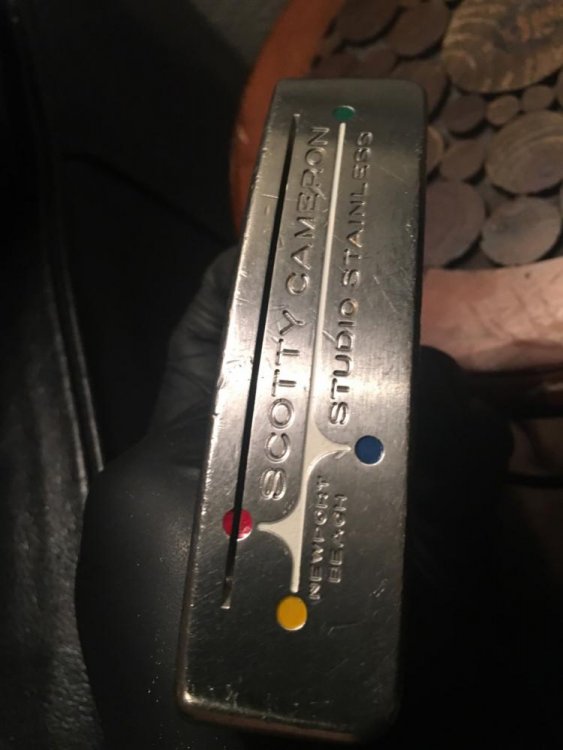
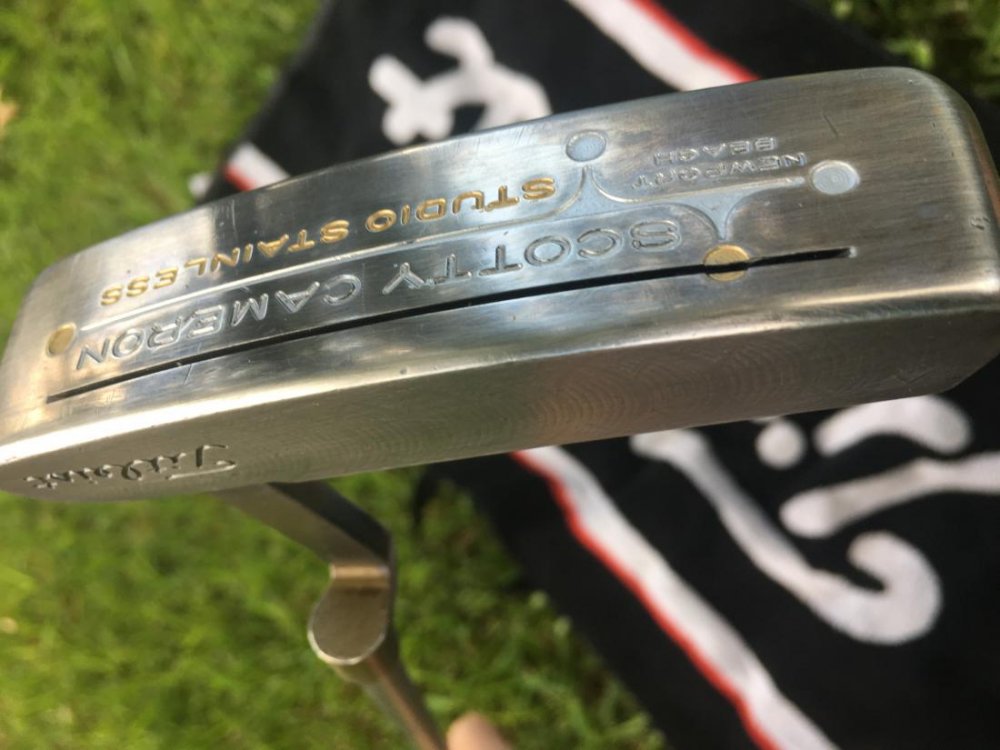
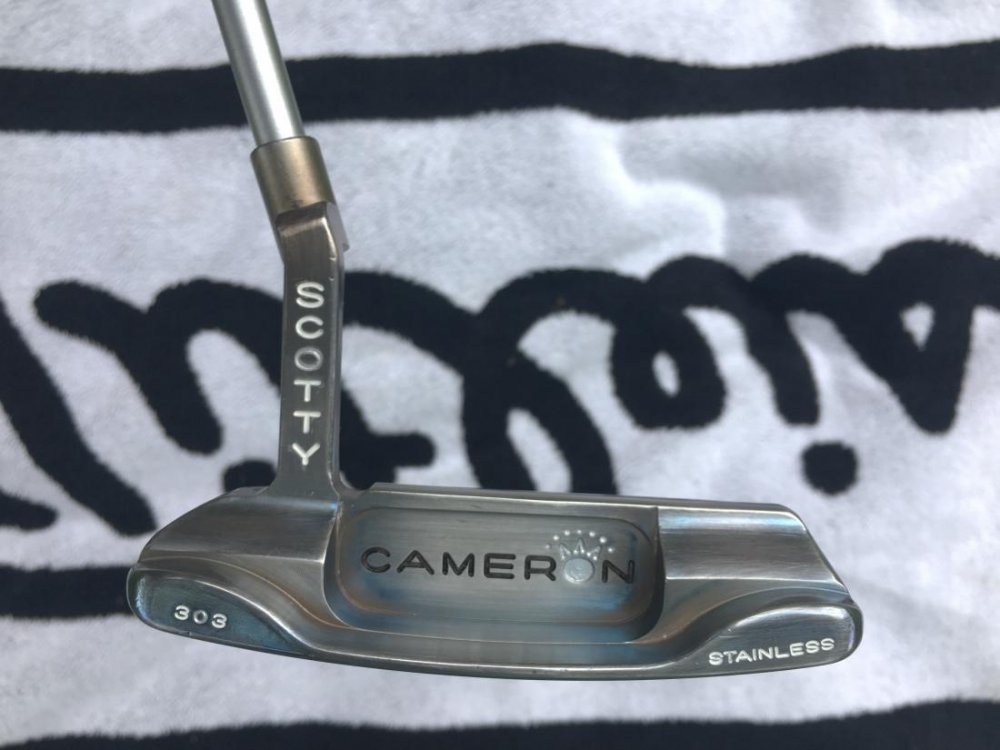
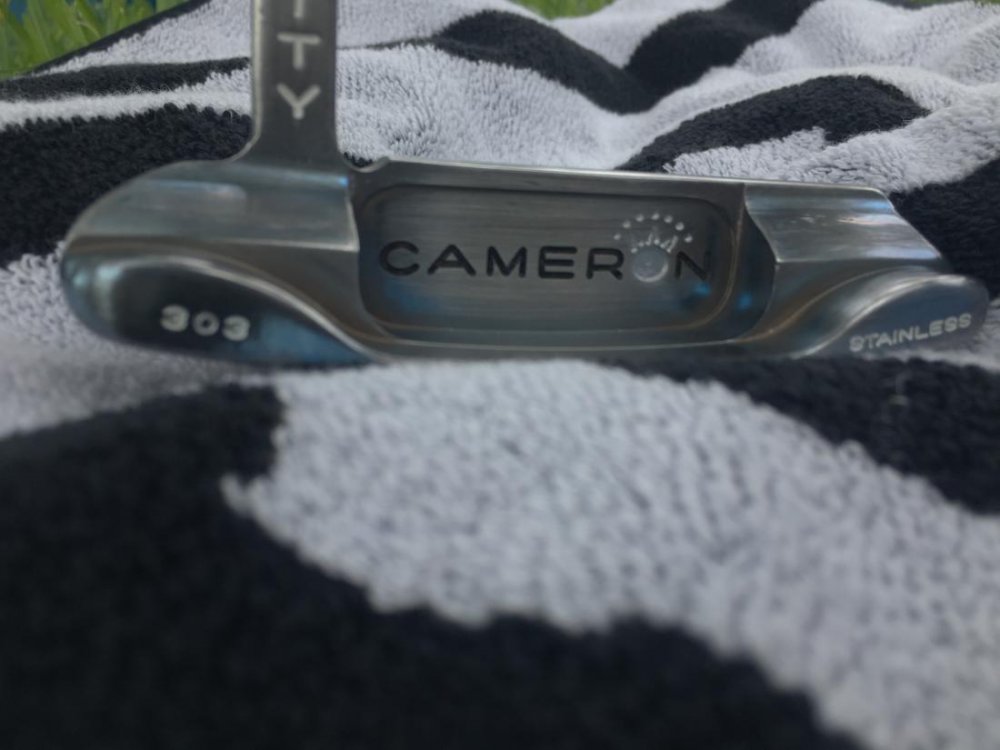
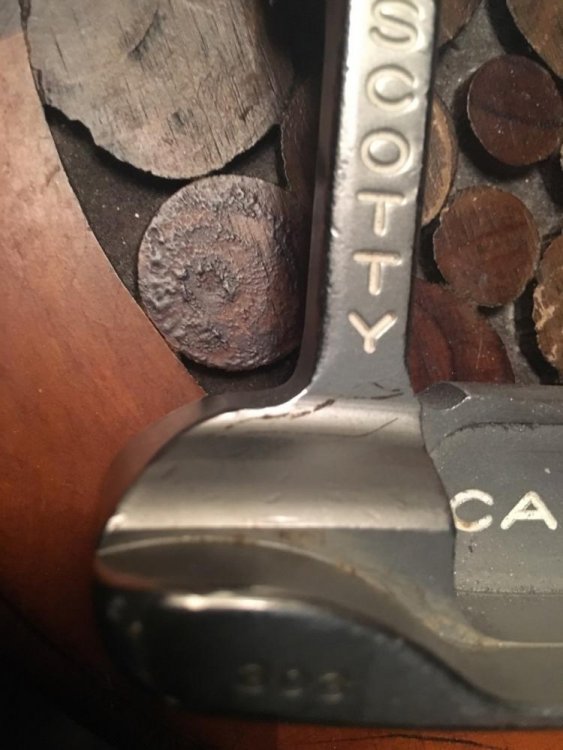
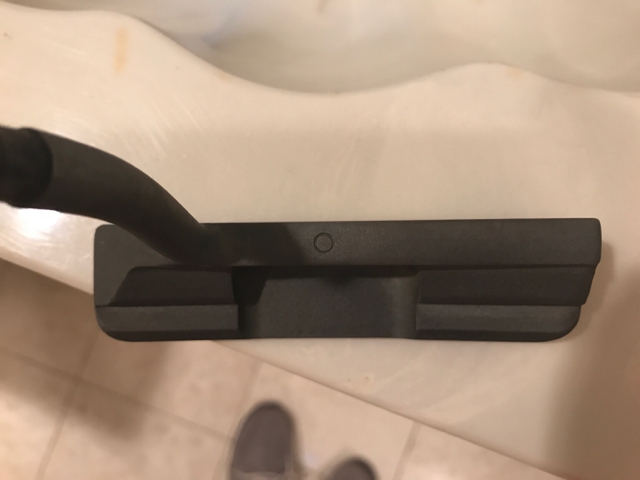
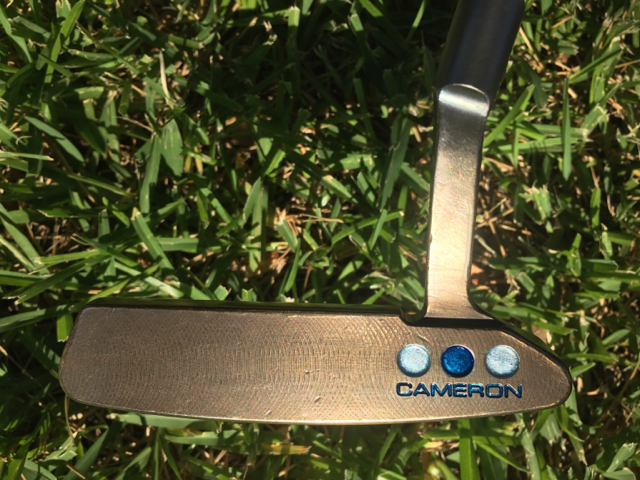
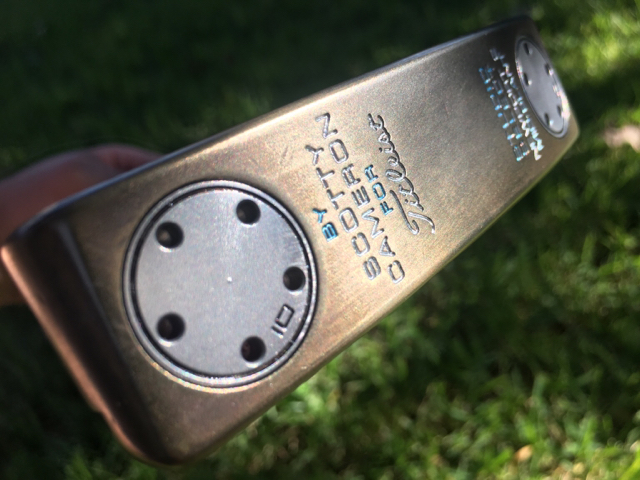
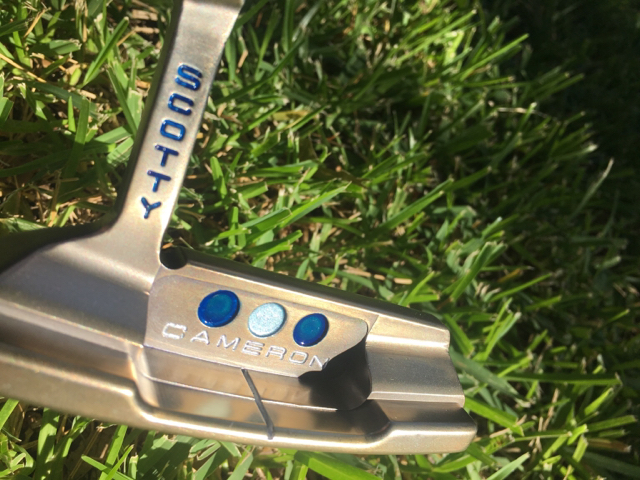
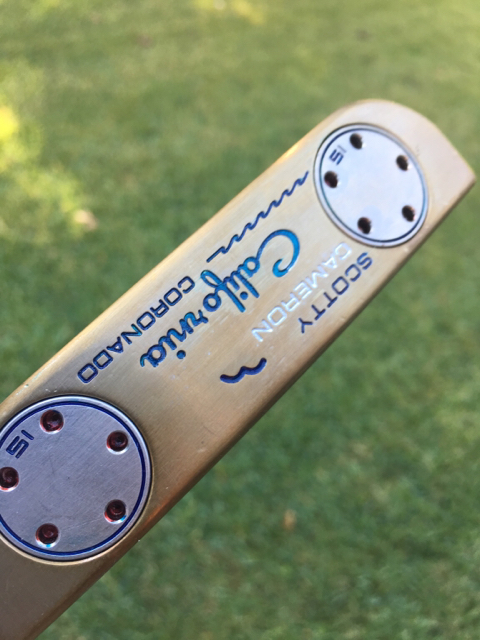
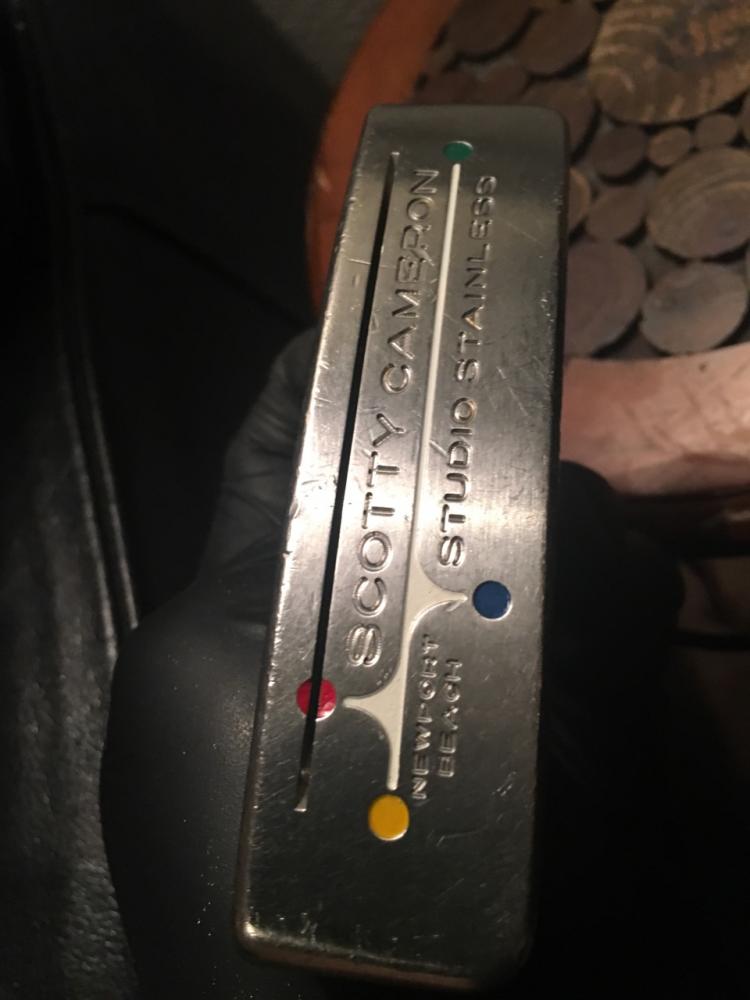
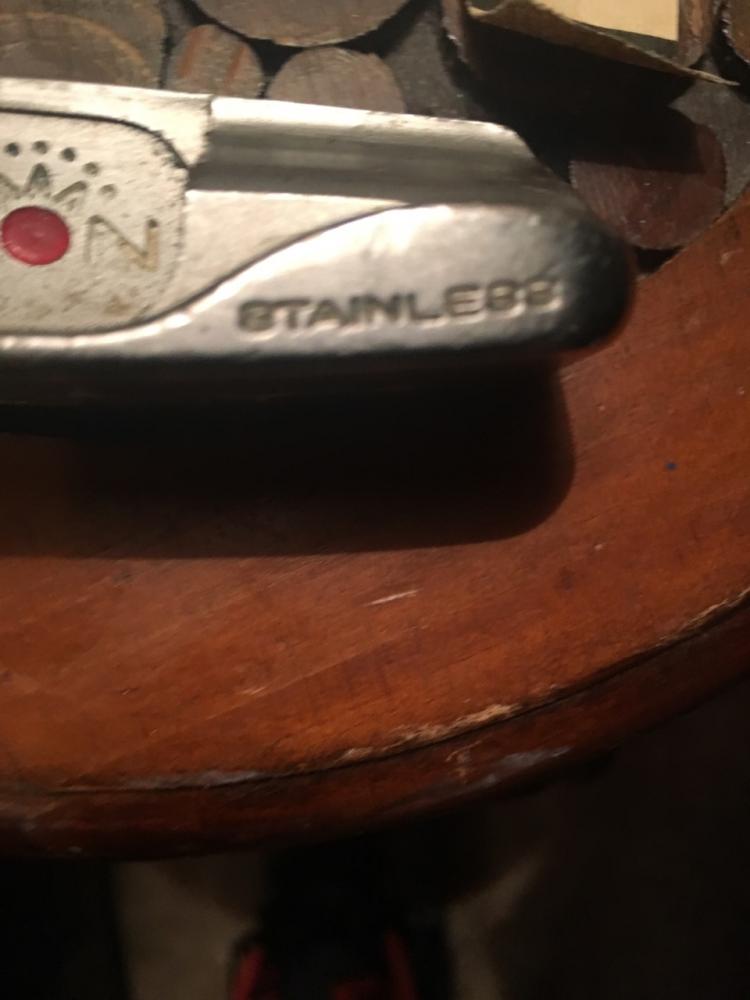
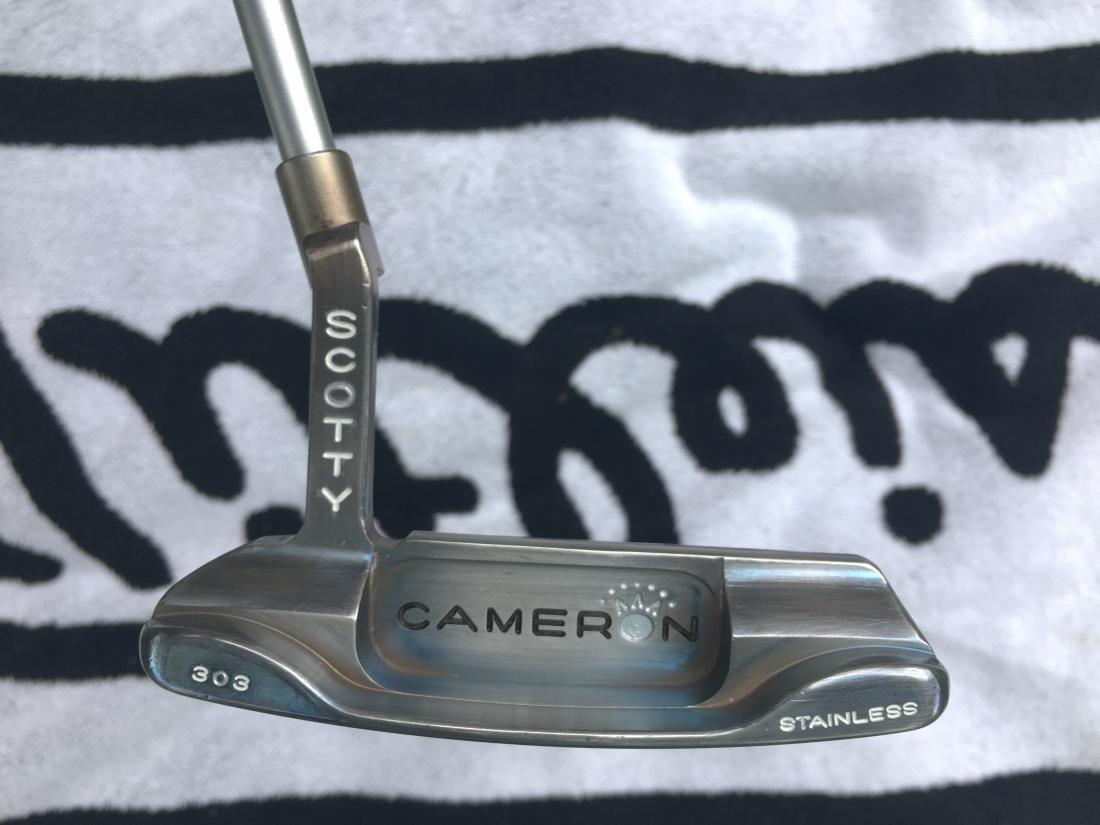
Studio Stainless Newport Beach:
This one was really chewed up when I got a hold of it. Topline, neck, body all mangled, paintfill chipped and fading, etc... Took some serious sanding and filing to get it into reasonable shape.
Before:
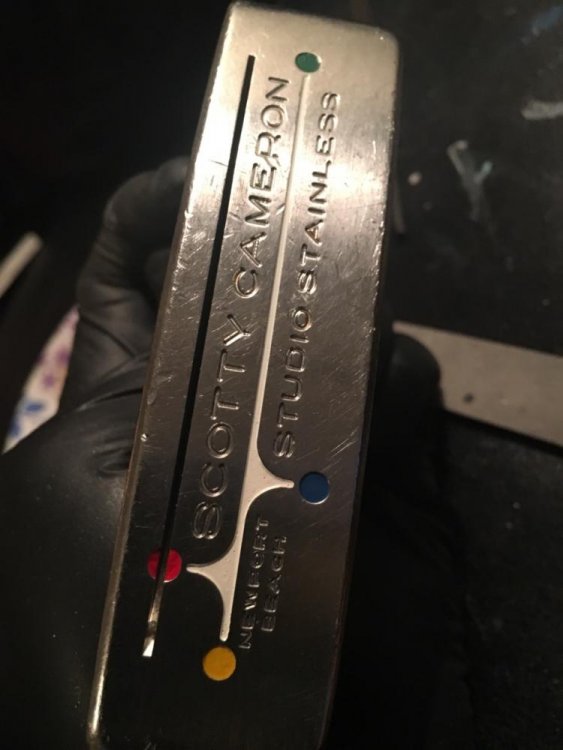


After:
- PlaidJacket, ridgewalker and Kanoito
-
3


Member DIY Club Restores/Refurbs/Refinishes
in Club Making/Repair & DIY Projects
Posted
Very, very nice black ox work there! Super even finish, looks terrific!
What where you using to stamp the dot? I've found that, especially for things like sight lines/alignment dots, using the drill press is a waaaaaay more reliable option. I didn't have one until recently, but generally they can be found in decent shape on Craigslist for $100-$500 depending on size/condition/age/etc. and my little $250 investment has been well worth it.
Sent from my iPhone using MyGolfSpy