

azstu324
-
Posts
2,296 -
Joined
-
Last visited
-
Days Won
3
8 Followers


About azstu324

- Currently Using Personal Messenger
- Birthday 03/24/1979
Recent Profile Visitors
11,819 profile views


azstu324's Achievements
")
(4/14)
7.9k
Reputation
-
And if somebody asks, the clubs are part of a very important "investigation" where they were believed to be used to steal a car.. Good luck with that story!
-
Man did I miss my calling in life . That's sounds pretty awesome !! I'm in banking... .
-
Ha ha yeah this is an old wedge and bound for the trash anyhow. Figured it would be a worthy sacrifice
-
Ok so this is a very rudimentary explanation of what's needed and the process. The end result on this one is very light and probably not the best place to do it with the grooves. You really want as flat of a surface as you can find. Here's what you'll need: Some kind of vinyl stencil maker is optimal but you can also hand cut stencils or scratch a design into some nail polish. I was lucky to get my hands on a Cricut cutting machine which is pretty friggin awesome! If you go this route, you'll also need transfer tape to apply the negative to the surface. I forgot to include some high strength cleaner like acetone or isopropyl alcohol. You'll want to thoroughly clean the surface before applying the decal. Remove the transfer tape and make sure the decal is fully applied. Once applied, mask off the surrounding areas to ensure you don't etch anything that you don't want etched. SAFETY FIRST!!! At this point be sure to have a ventilation mask or something to keep from inhaling fumes. There is a bit of noxious gas that is created with the chemical reaction. Nothing crazy but it's there. Next you'll mix your electrolyte solution. There is no real scientific measurement but I'd guess 2 parts clean water to 1 part white vinegar, and a bunch of salt. Table salt works fine. For this small application, I probably used 1 tablespoon of salt. Mix thoroughly. Now we're going to make the electrode contraption. I found the 3 9v batteries plugged in series worked the best. You'll need negative and positive alligator clips with wires long enough to give enough slack to work with. Finally, you'll want to make the transfer wand. I just found a 4" wood bolt, wrapped it with duct tape, a cotton face cleansing pad, and a rubber band. You can pretty much use anything that is conducive or made of steel. Nail, screw, or even a cotton swab as the current will pass through the solution when wet. Next you will attach the alligator clips. Determine what you want to be + and -. In this case I used red for the positive and Black for the negative. Clip the positive to the battery terminal and run to your steel. The negative will run to the transfer wand. Yep.. those are my feet. Deal with it! Now for the fun but very tedious part.. Your ready to start dipping and etching. You'll dip the cotton part of the wand in the electrolyte solution. You'll want a paper towel or 2 handy to damp the cotton so it's not a wet mess. Then you'll just lightly press the wand onto the surface and let sit for about 10 seconds at a time. Keep moving the wand around in 10 second intervals as to cover the the entire etched area. Eventually you'll want to see almost a black build up in the etched area. It's really a trial and error to get the right depth on the etch. Once you feel like you've etched enough, remove the tape and vinyl. Now you need to clean off all of the oxidation. I just used dish soap or Barkeeper's friend and a 3M pad. Note: this is etching away the top plate layer into the raw steel. You'll either need to add some kind of oil or rust prevention, black oxide, paint, or just understand that it will rust. That's it!


-
Yeahhh but.. if $45 can pretty much do the same thing....
-
Ha ha. The things we don't know we need until someone else shows us that we do. The model I'm borrowing is called Explore Air 2. There is a model called the "Joy" that seems to be more economical but just as capable. I've found them on my local offer up for around $50 and think they're like $130 new.
-
So here's one of the videos I found. Most of the videos are more specific to knife making and adding a maker's mark but apply to golf clubs too. The most difficult and costly part is coming up with the vinyl printer. My sister has a Cricut machine that I borrowed and it's pretty awesome.
-
Bahahaha!! That's classic man!
-
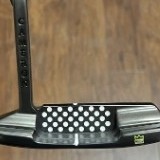
So I fell down another rabbit hole.. again I bumped into some tutorials about electro etching using a series of 9V batteries, an electrolyte solution, and vinyl stencils. I think this is a really cool alternative to stamping. My other wedge is in a box on it's way to Florida for a review. When I get it back, I'll complete the project and etch "Vincent" down the hosel and "Royale with cheese" on the back side. I may even take things 1 step further and etch "The Wolf" on my putter. So basically the 2 gangsters and the clean up man


- 27 replies
-
- 12
-

-

-

-

-
Now are you sure you don't just want to spend $800 for the real thing? Awesome!!
-
Yeah I built my dad's with TT Elevate 90g R flex.. that's more like apples and brisket . When I hit his, they basically broke through the atmosphere. I'm hoping these XS flighted rifles keep the ball more on the planet with some laser precision. I can't wait! The irony is that I pulled my Achilles right before I built this set so I'm yet to put a swing on them. Hopefully in a week or 2 I'm good to start swinging a club again.
-
Oh I've been hitting my dad's on and off for quite a few months so aside from different shafts, I'm very familiar with these. No doubt the TS1-IM's are really great. Personally, I prefer the feel of solid forged and the TS3's are a little more friendly. The TS4's are currently en route to Gabe at LetsPlayThru in FL so these are my new set. The real test will be between the TS3's and TS4's.
-
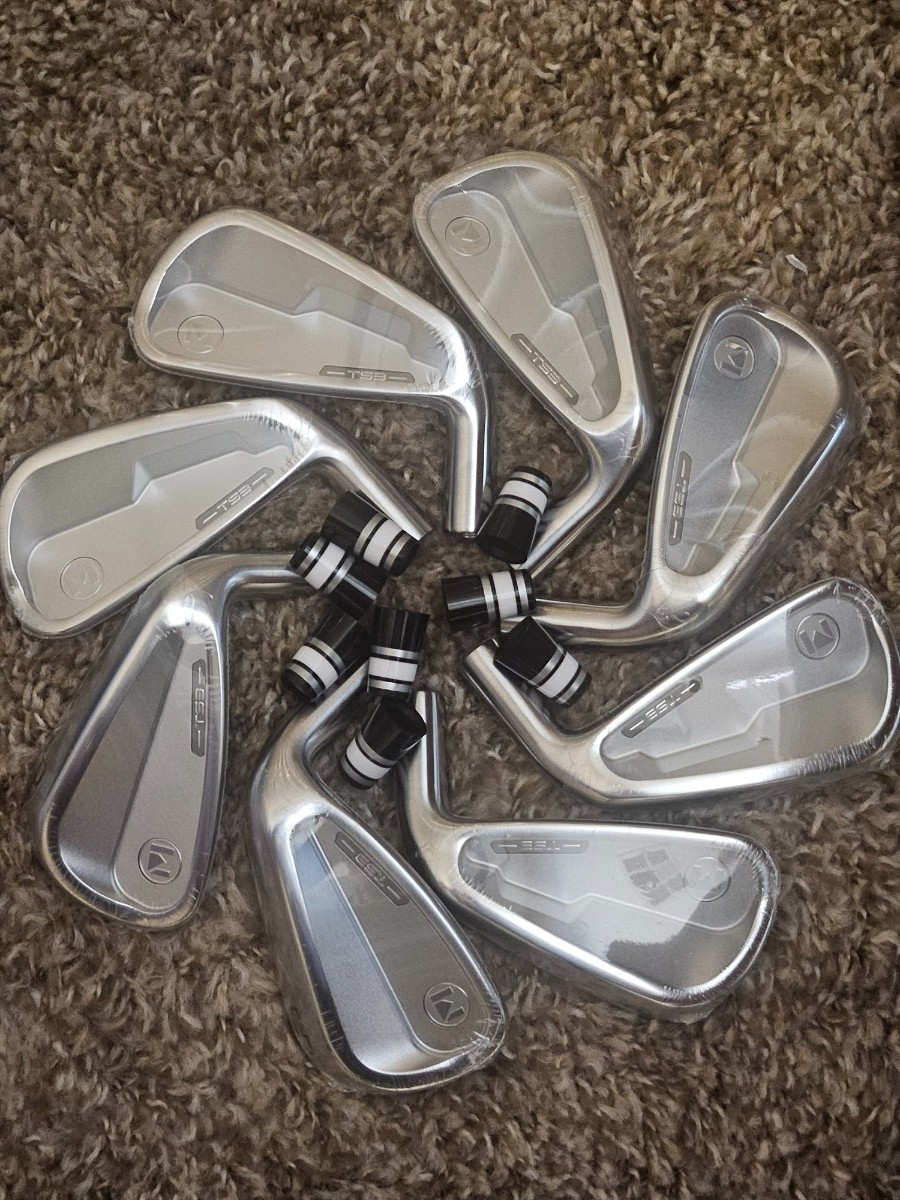
Ok last set of Maltbys this year. I promise!


-
To be completely honest.. and this is just me and y'all know I'm a total kook.. but I think the "secret hidden Korean technology" is more along in the "kung fu master, feel the shaft be the shaft, flow like water, find yourself to find the secret" sense.
-
Got the goodies for my little project this weekend!